Image Rotation
PicMagic Tools allows you to rotate your bulk images in no time. You can rotate multiple images clockwise, anticlockwise, and custom angle selection. It can also aid you to auto-correct the images using EXIF data. Please follow the beneath steps to rotate your images in bulk.
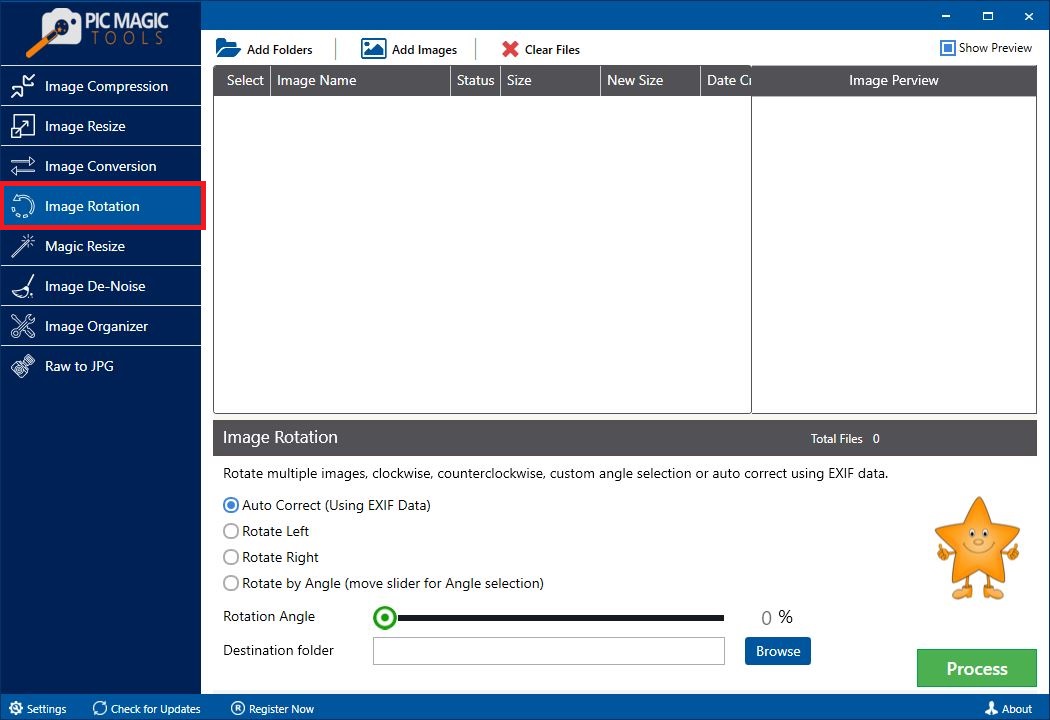
Step 1: Start the PicMagic Tools and click on “Image Rotation” from the left listed menu.
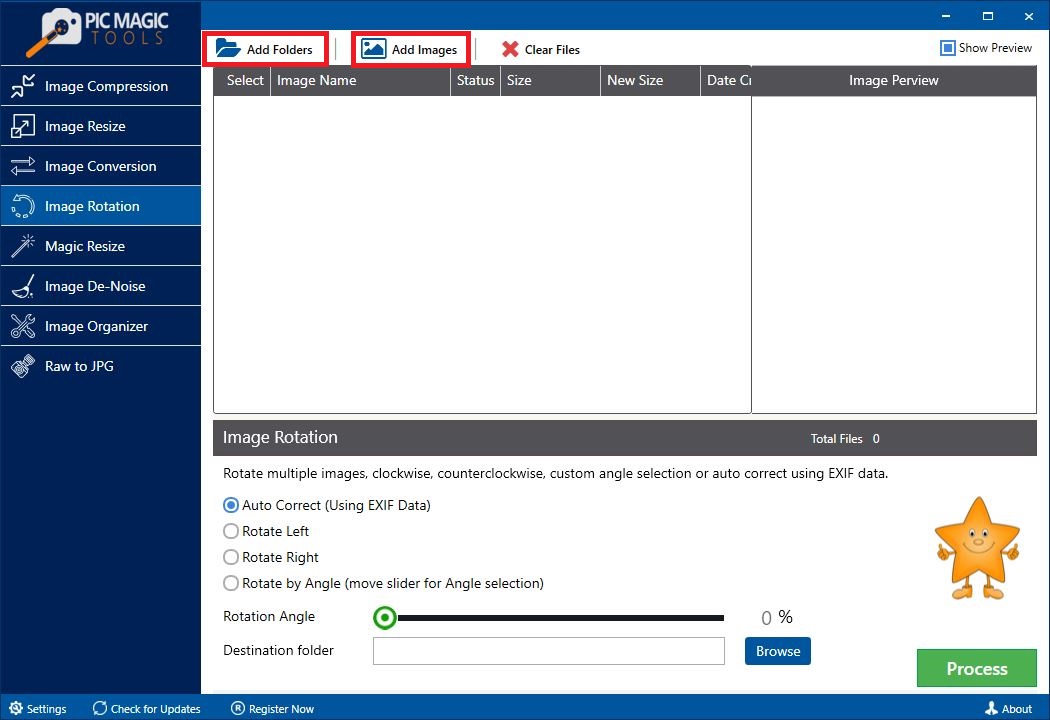
Step 2: Select the images by adding the folder of images or select images from different folders.
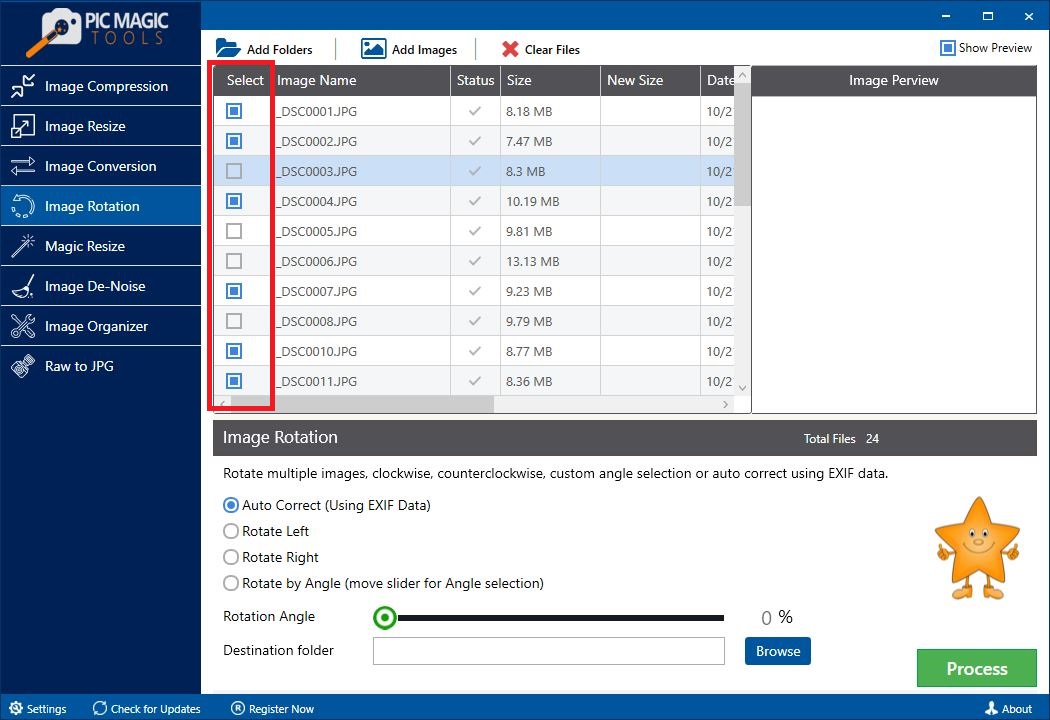
All images in the list are selected by default. If you want to skip some images from compression then unchecked those images from the list.
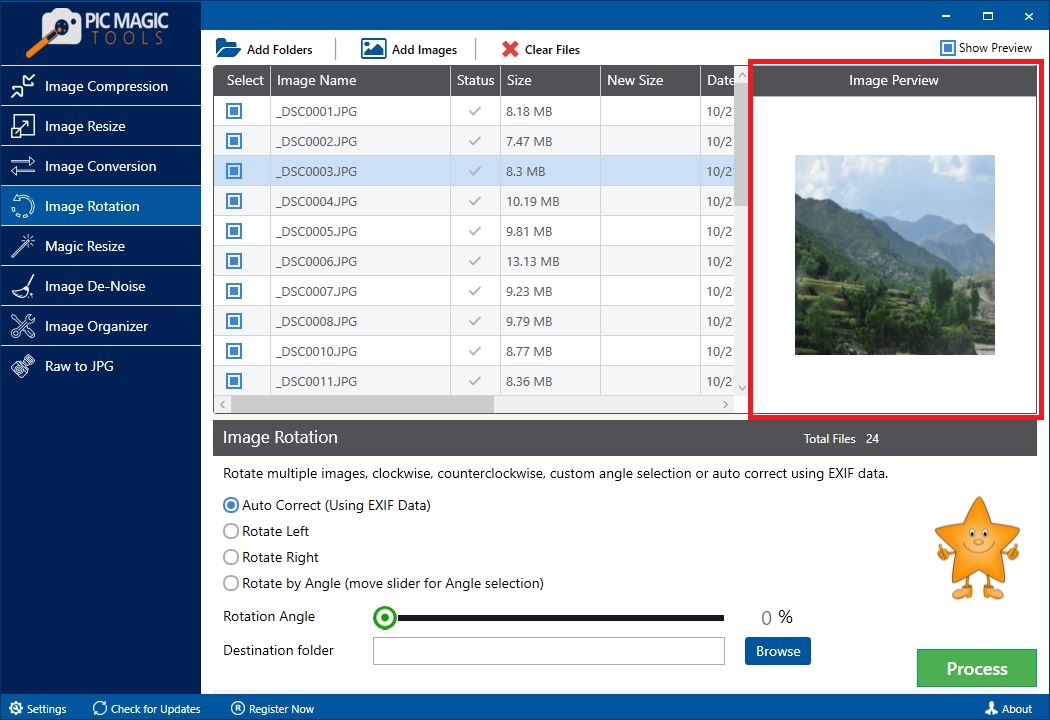
You can also preview the photos by clicking on them one by one. It will show the images on the right side of the list in “Image Preview”.
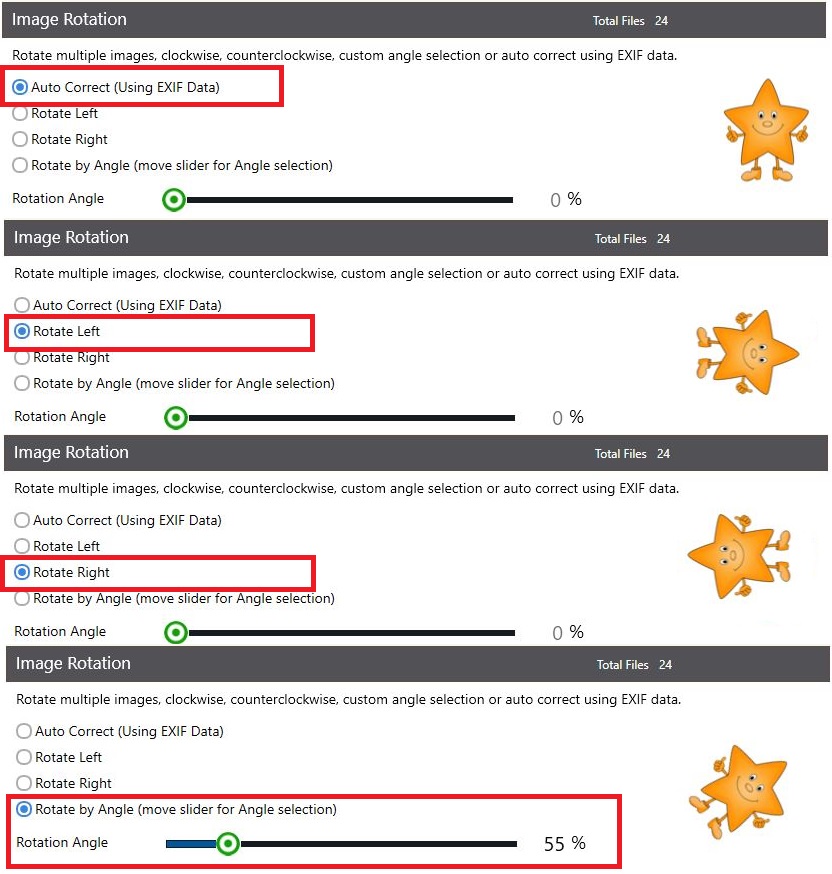
Step 3: Now choose the desired option;
- Auto Correct Using EXIF Data (Set the original orientation of image by using EXIF data)
- Rotate Left (Rotate the images to Left)
- Rotate Right (Rotate the images to Right)
- Rotate by Angle (Drag the pointer on slider to set the angle for rotation)
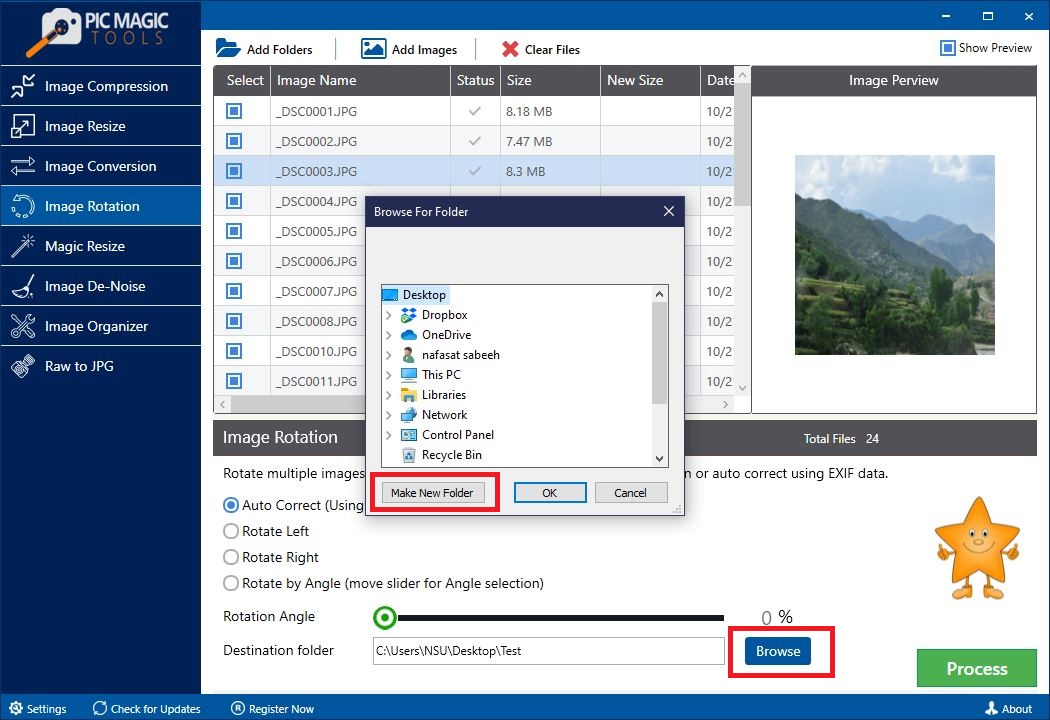
Step 4: After that choose the destination folder by clicking on the “Browse” button.
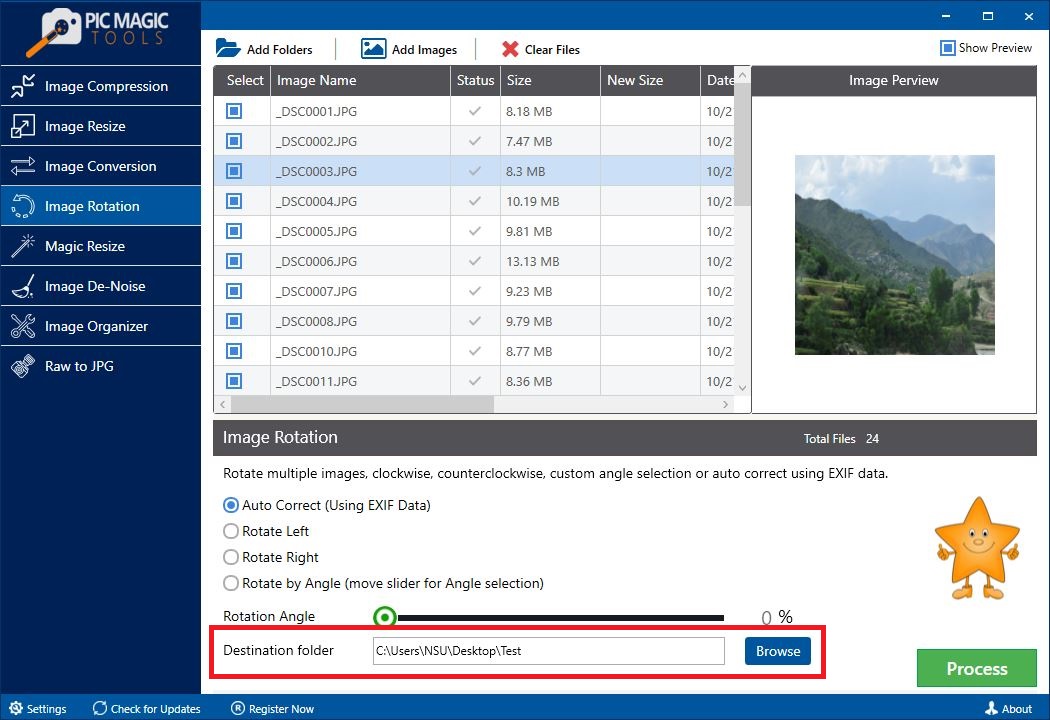
You can also create a new folder through it.
Step 5: Now click on the “Process” button on the bottom on the right corner. It will start the process.
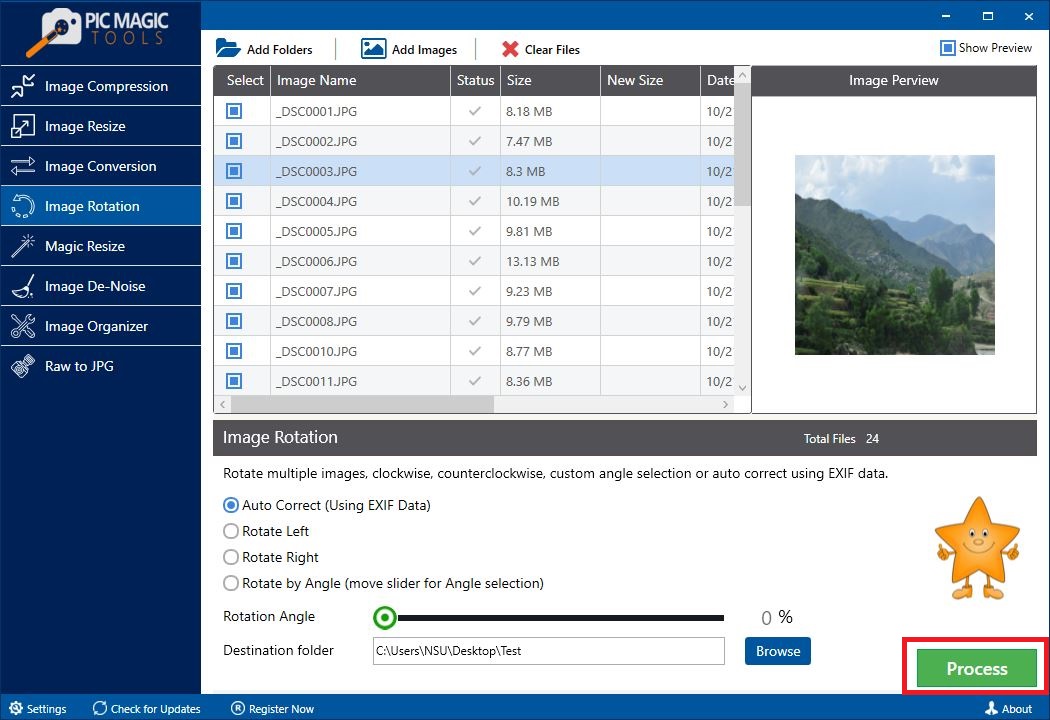
The process takes some time for completion.

After completion, you can see the images in the destination folder that you selected.