Raw to JPG
PicMagic Tools helps you to convert your Raw image formats to JPG for ease of use. To start with the Raw to JPG function, please follow the beneath steps;
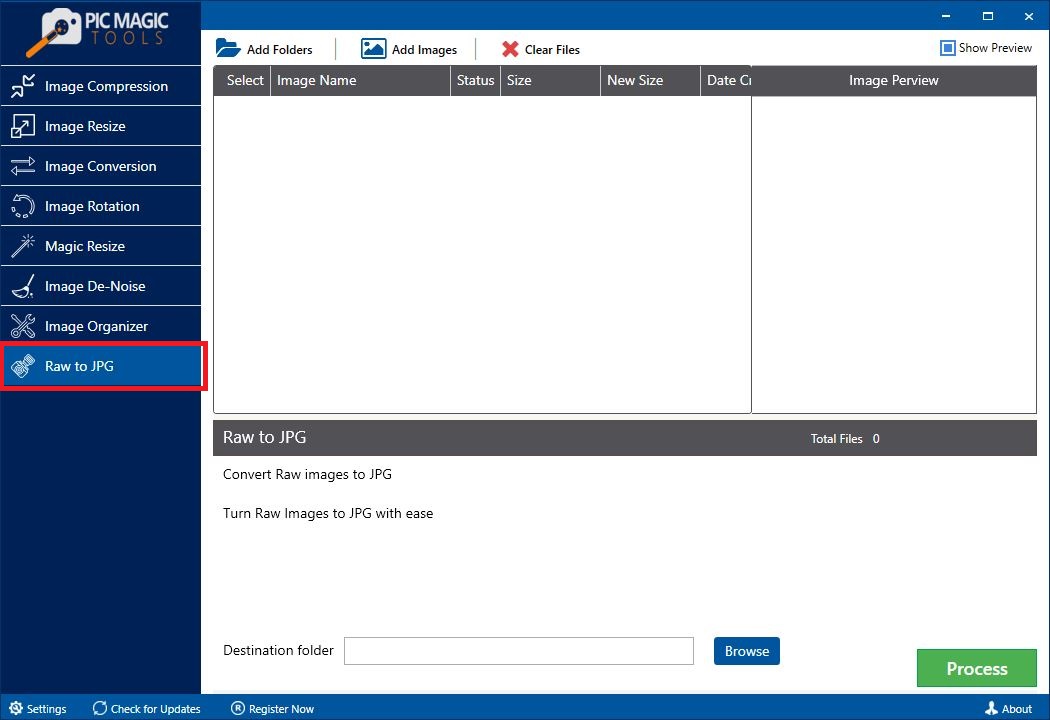
Step 1: Start the PicMagic Tools and click on “Raw to JPG” from the left listed menu.
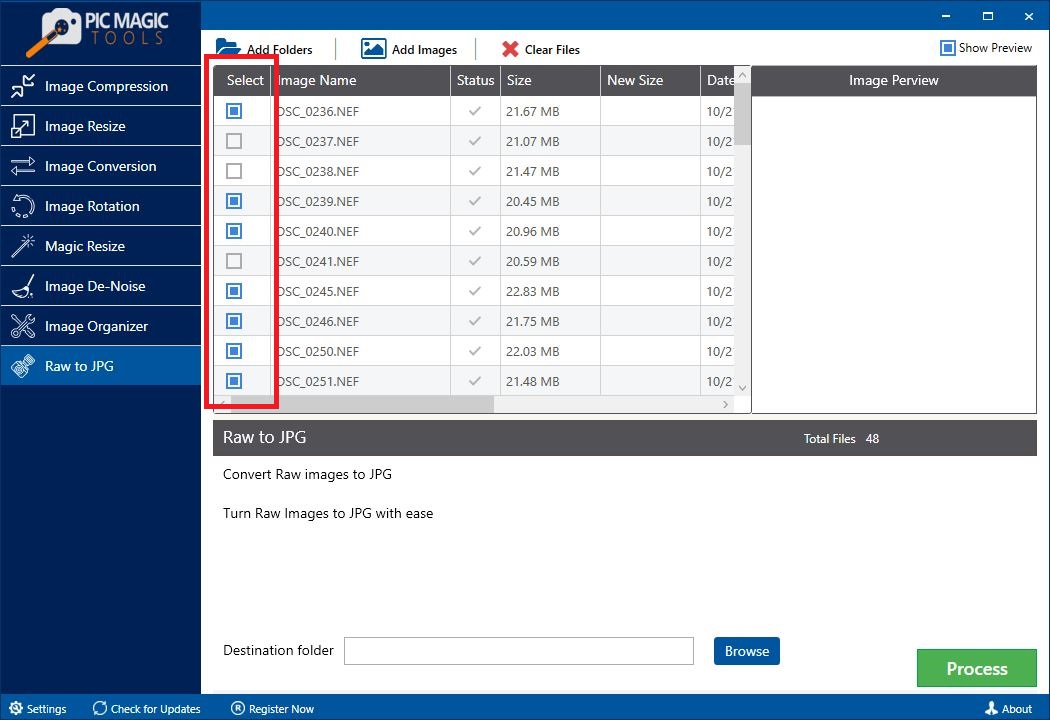
 Step 2: Select the images by adding the folder of images or select images from different folders.
 All images in the list are selected by default. If you want to skip some images from compression then unchecked those images from the list.
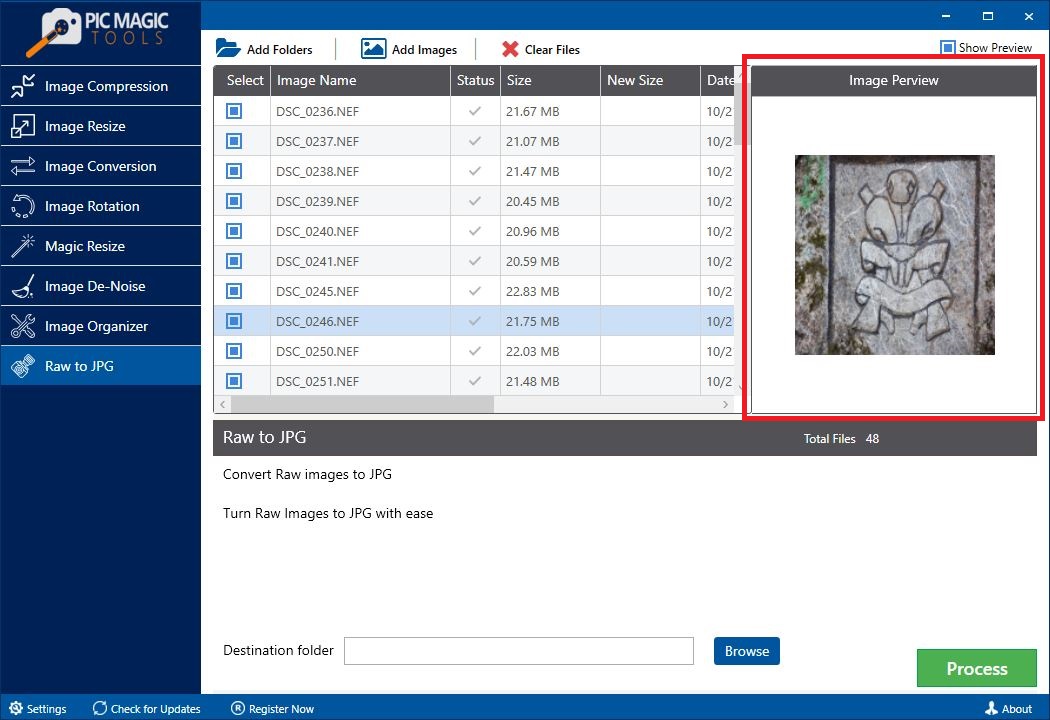
 You can also preview the photos by clicking on them one by one. It will show the images on the right side of the list in “Image Preview”.
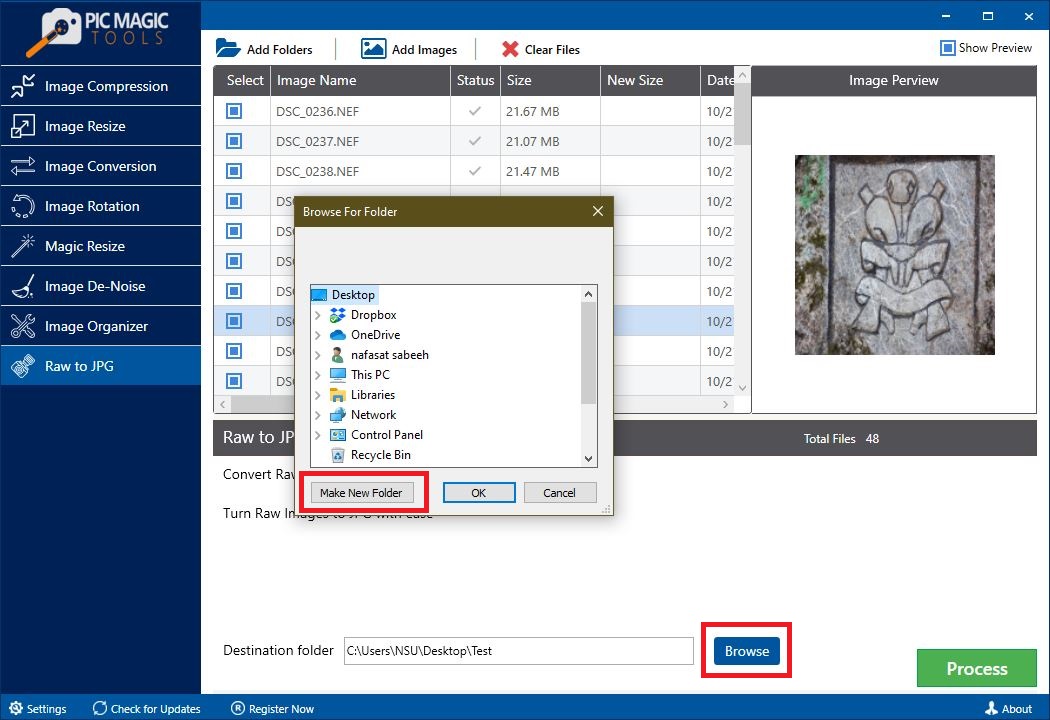
 Step 3: After that choose the destination folder by clicking on the “Browse” button.
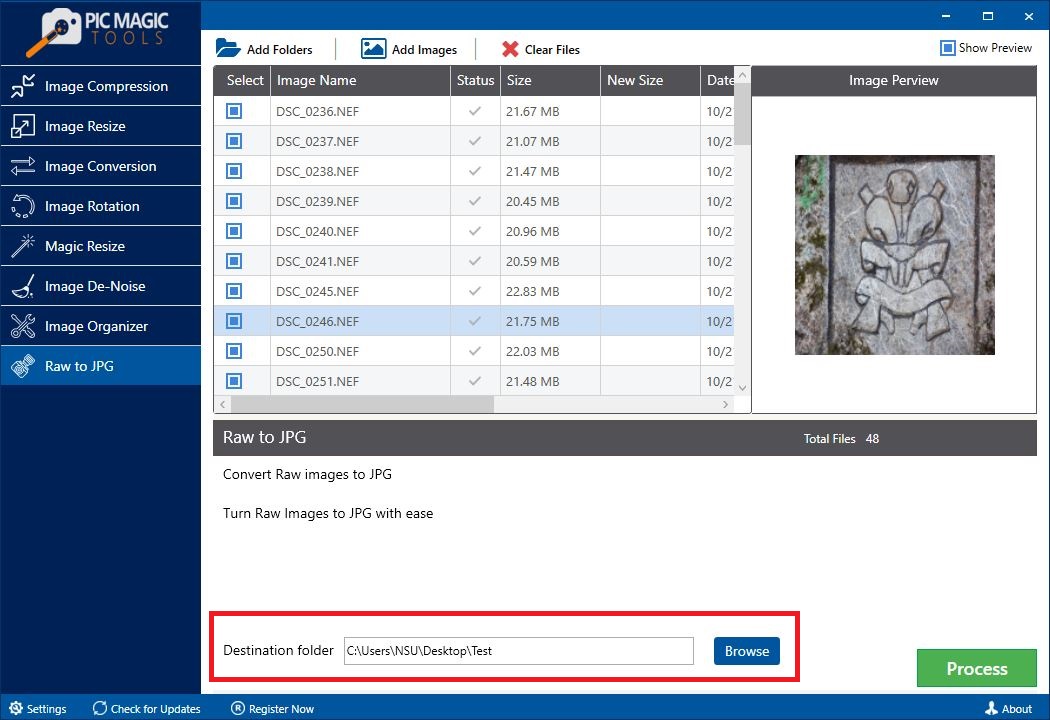 You can also create a new folder through it.
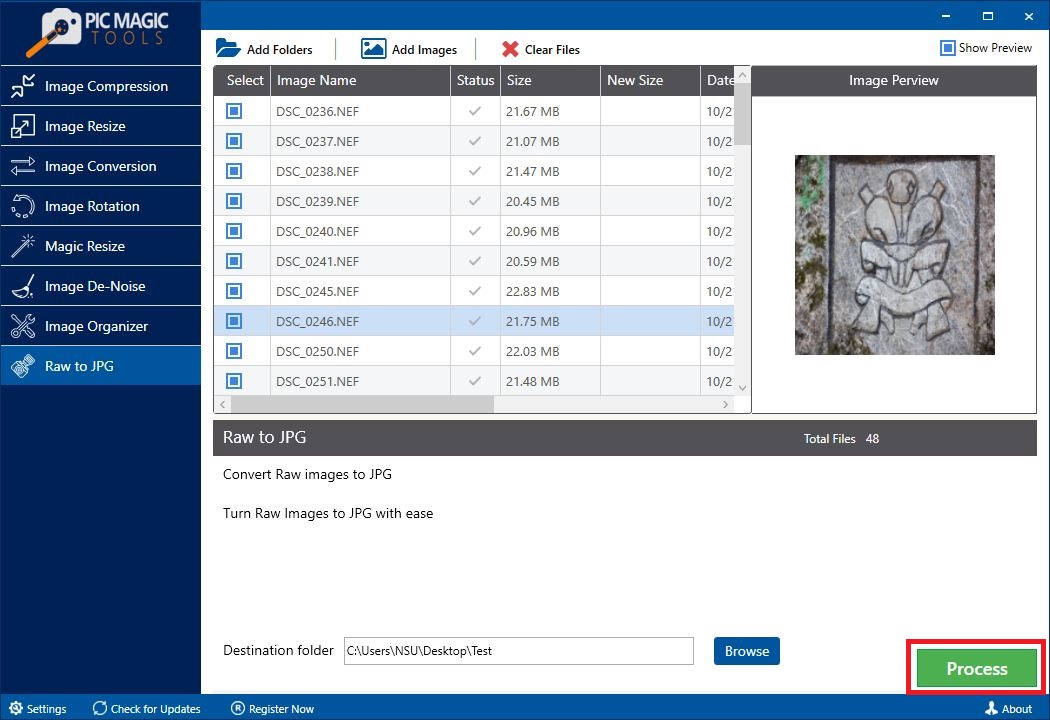
 Step 4: Now click on the “Process” button on the bottom on the right corner. It will start the process.
The process takes some time for completion.
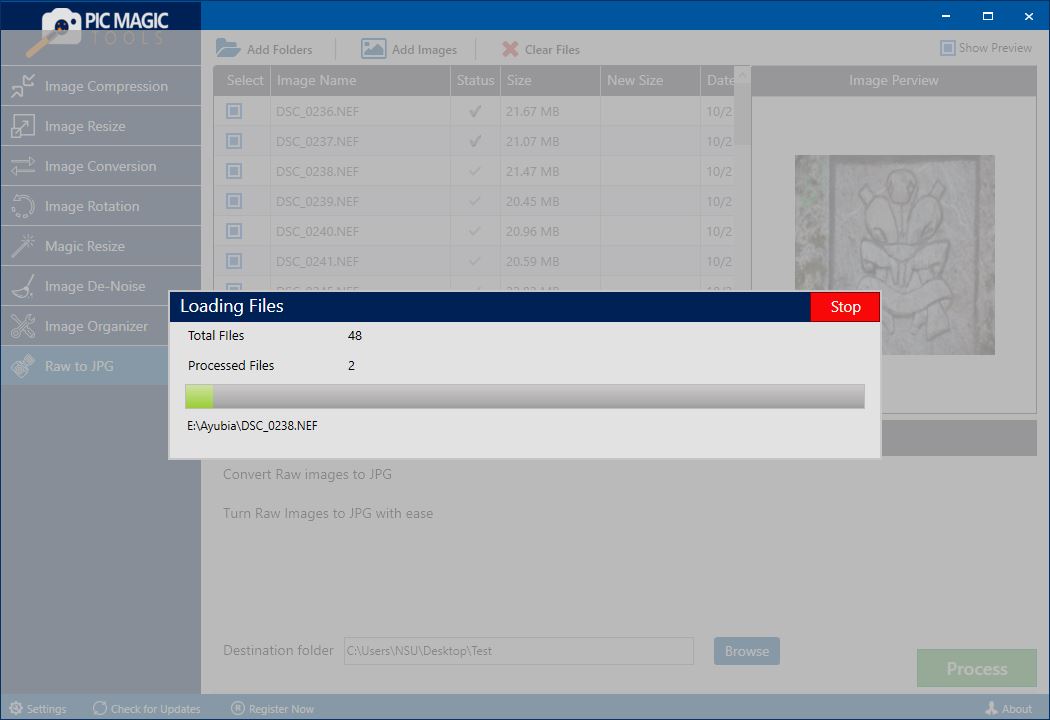 After completion, you can see the images in the destination folder that you selected.