Many users are not aware that they can rotate pictures in bulk using File Explorer. It is a useful feature of File Explorer. You can rotate the image without opening the picture. But you can only rotate pictures on regular angles like 90, 180,270 and 360. Let’s see how it works.
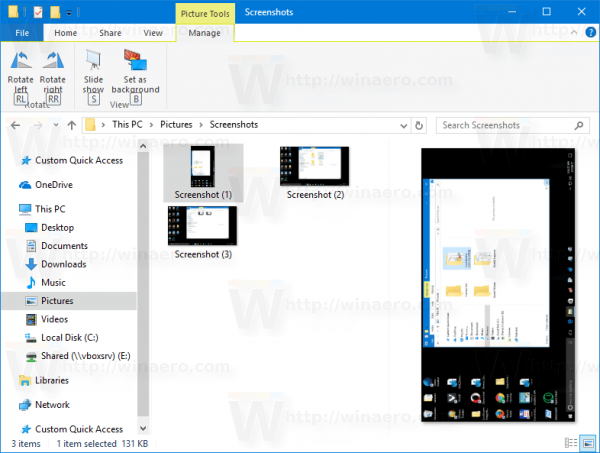
Way 1: Select the image in the file explorer that you want to rotate.
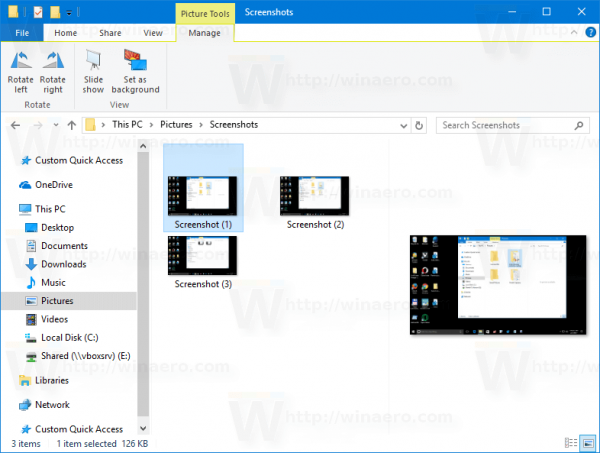
You will see the Picture Tool section in the ribbon bachelorarbeit schreiben lassen kosten. Rotate the image by clicking Rotate Left or Rotate Right.
Way 2: You can also rotate the images with hotkeys. Use Alt+JP keys to open the Manage tab.
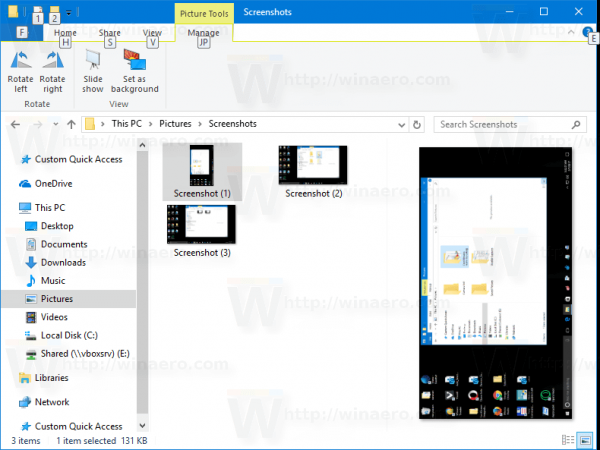
Press RR to rotate the image in a clockwise or anti-clockwise direction.
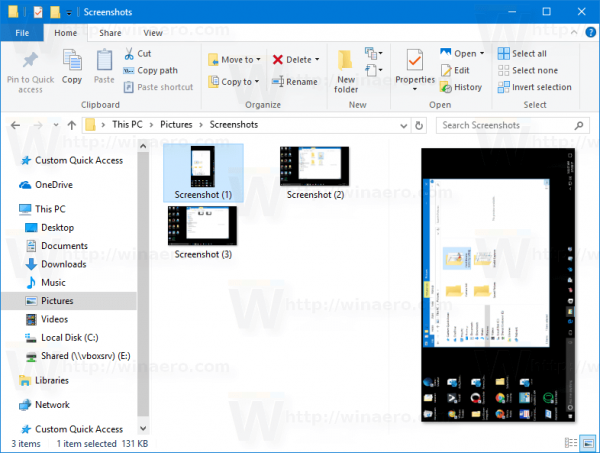
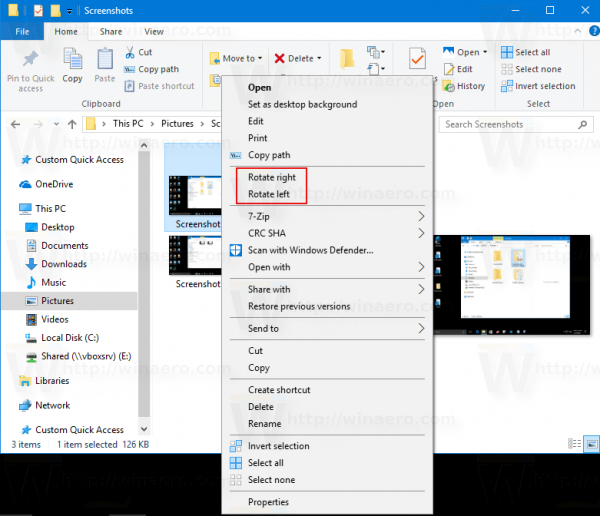
Way 3: You can also rotate the image by right-clicking the context menu masterarbeit ghostwriter. Select the image and choose the rotate right/rotate left command.
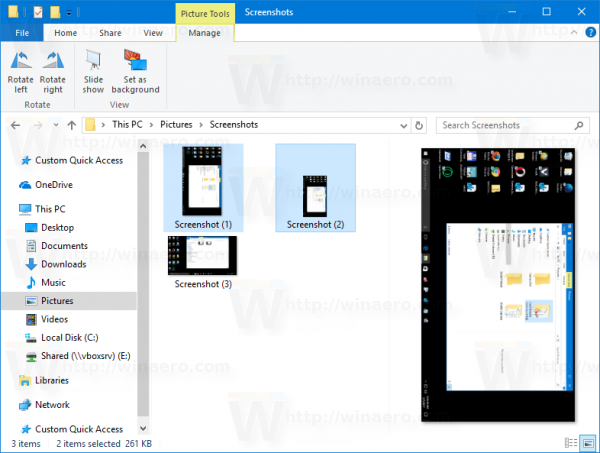
Way 4: You can also rotate multiple images in the File-Explorer ghostwriter bachelor. Instantly, you will get the images after the completion of the process.
The photos app is a built-in Windows 10 tool. You can rotate images using the Photos app. With the photo app, you can only rotate one picture at a time. But it rotates pictures only in the right direction ghostwriter masterarbeit kosten. Follow the given instructions to Rotate the Image.
Open the image that you want to rotate in the Photos app.
Now, click the rotate option on the top or press the Ctrl+R keys to rotate the image.
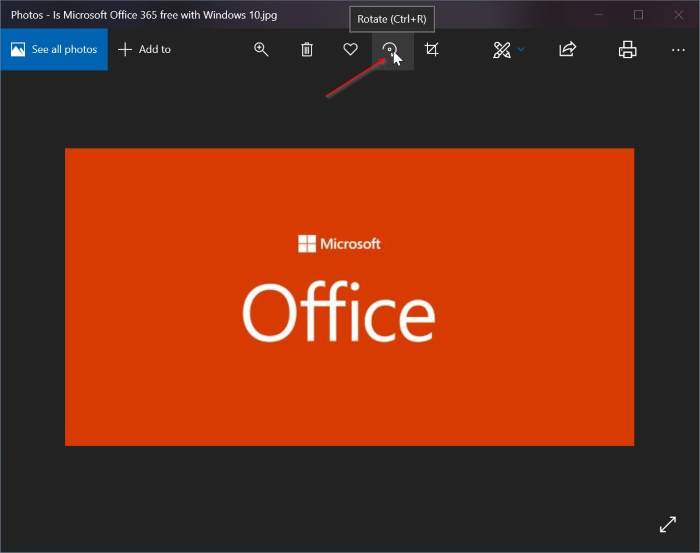
That’s the procedure to Rotate Pictures with the help of the Photos app but it can be done one by one.
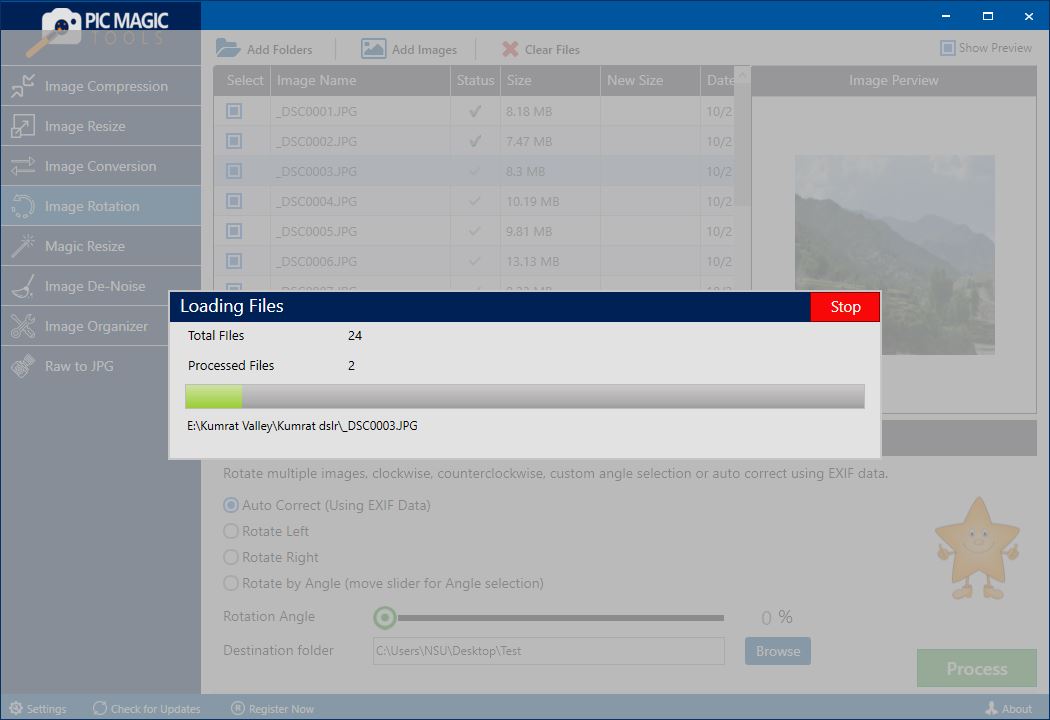
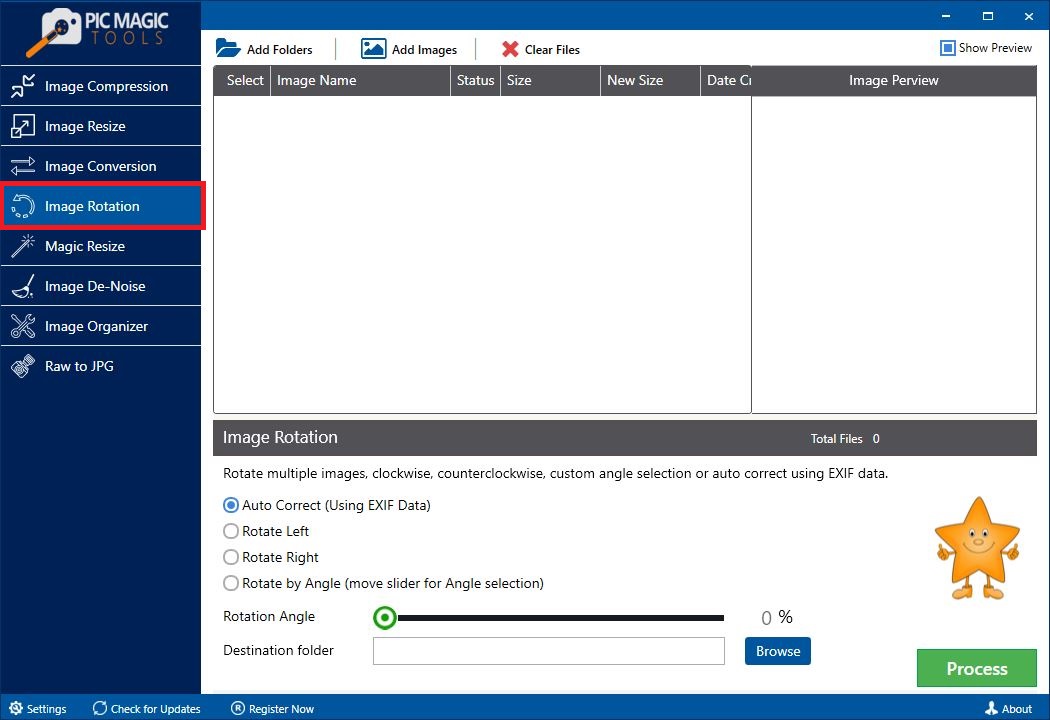
Step 1: Download the software from its official site. Install and launch the software.
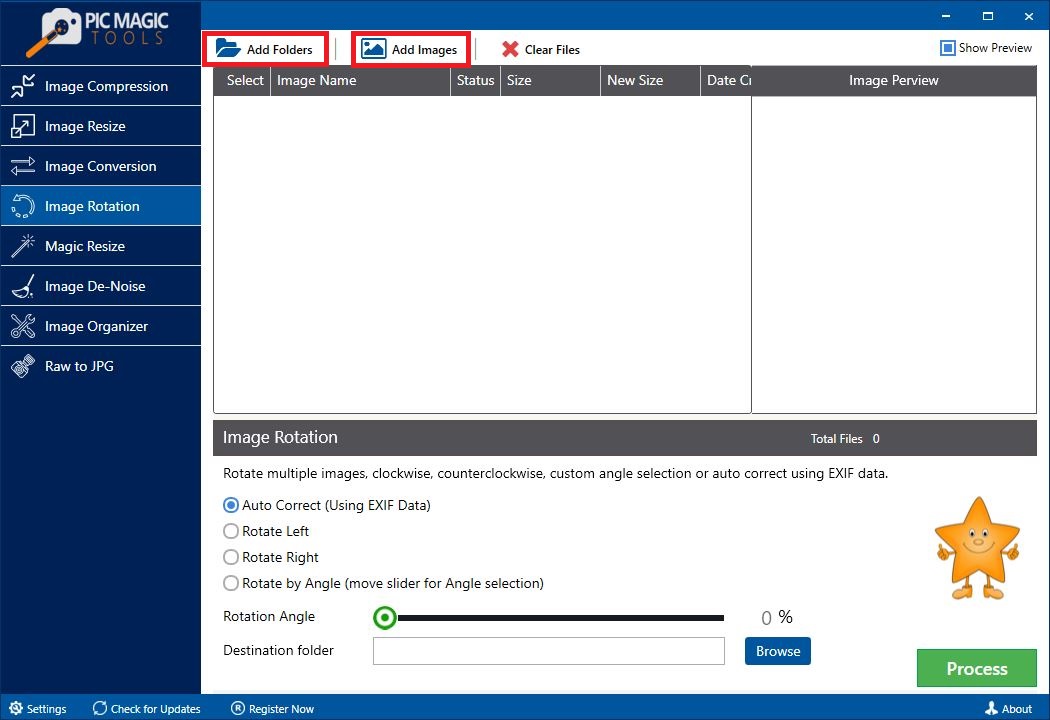
Step 2: Add images by pressing Add Images button or add folders by clicking the Add Folders button.
You can select and deselect the image that you want to Rotate or do not want to rotate from the highlighted column.
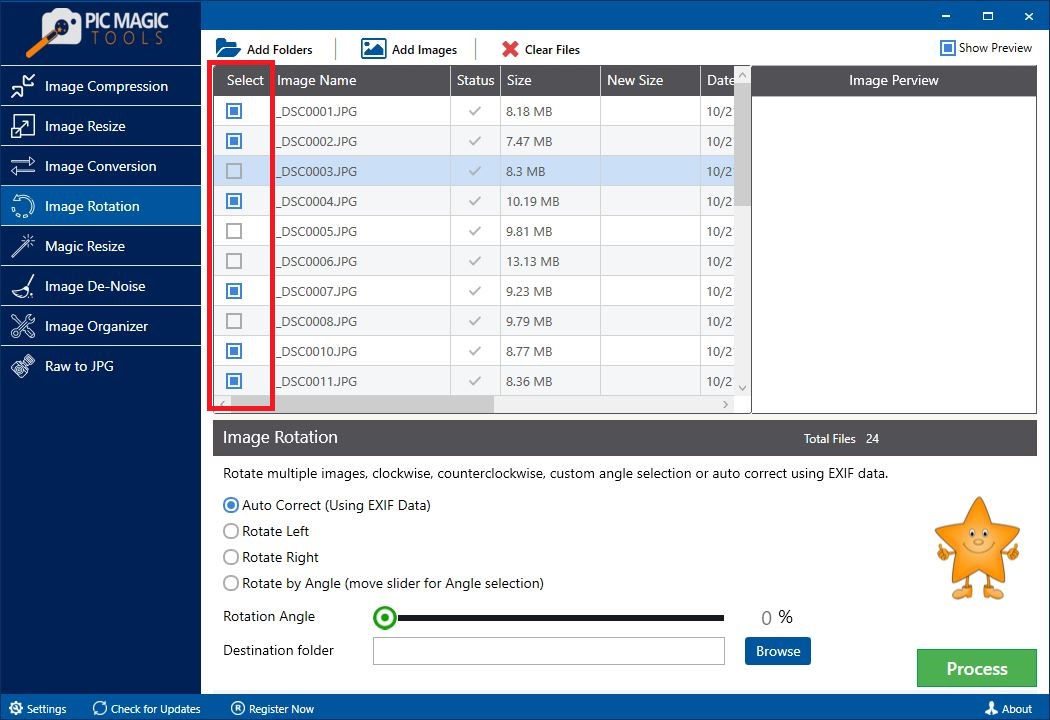
Check the Show Preview button to see the image. Image Preview option will provide a preview of the selected image.
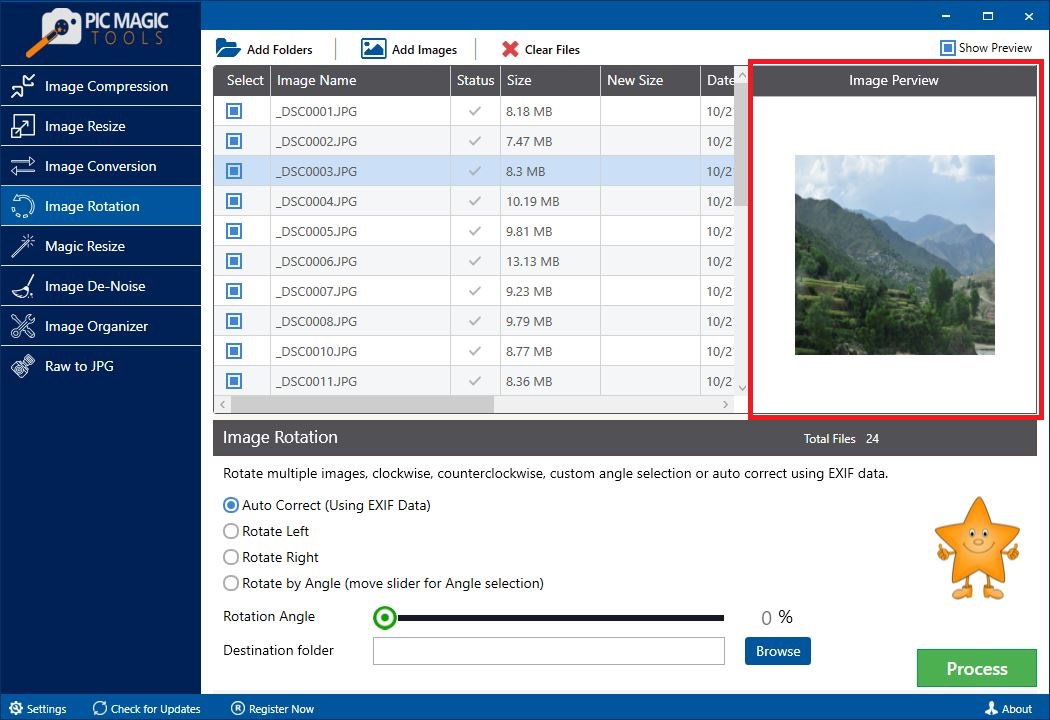
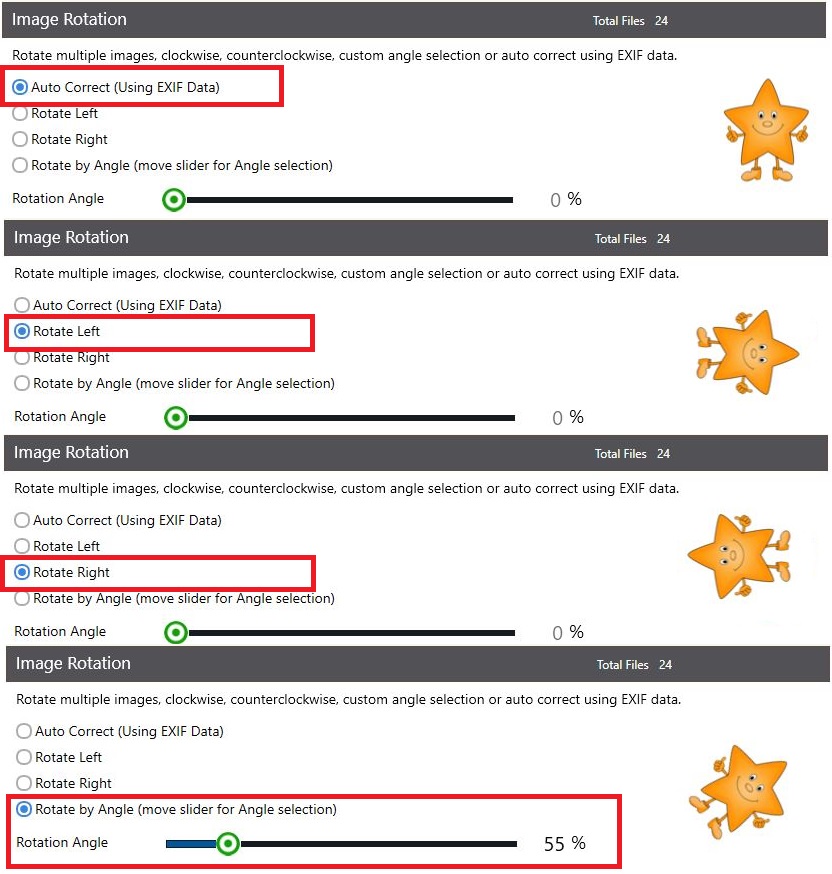
Step 3: Now, select the desired rotation technique to rotate the images given in the Image Rotation section of the tool.
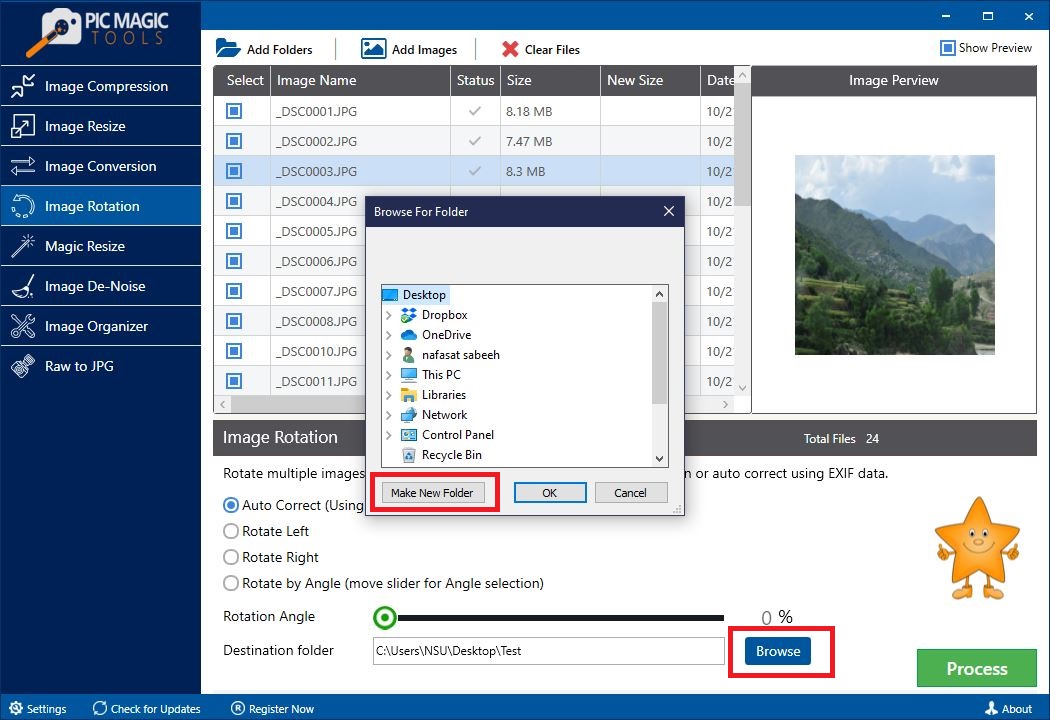
Step 4: Provide the destination by clicking the Browse button to save in the desired location.

Also, you can create a folder by clicking the Browse and then clicking the Make New Folder option.
Finally, click the Process button to kick start the whole procedure.
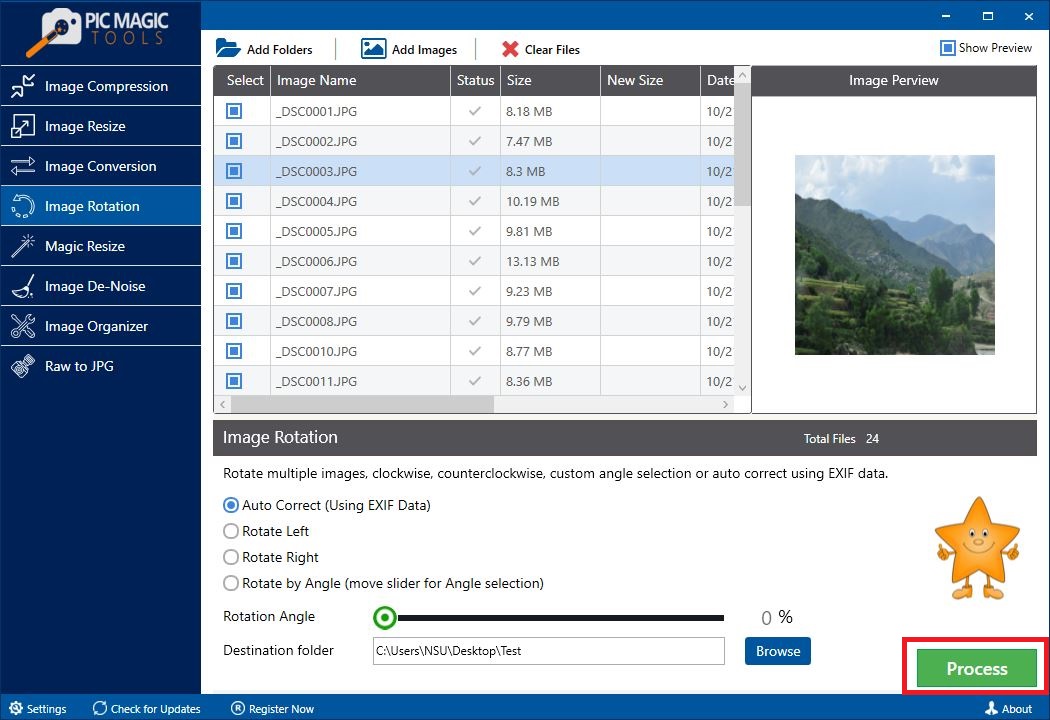
Wait patiently for the process to end. After completion, you will attain rotated images.