Key Points

How to Organize Pictures in Windows 10

Can you tell me the exact number of pictures taken each day? Definitely, not. I think it’s not countable. That leaves people with a massive amount of unsorted images in their library of media. That way, photo organizer windows software has become necessary for everyone. It is mainly due to the insurgency in the field of smartphones and the explosion of social media. 

Overview

So, if you are a Windows 10 user, then it is not difficult for you to organize pictures in the Windows default photo management software but it has limited options. With picture organizer software, you can shape bulk images at once in just a few clicks. It is vital to organize the pictures else have to trawl never-ending folders to pick the required image that you want.

In this article, you will learn about how to use photo management software windows 10 and the best picture organizer software for organizing your messy images. 

Organize Pictures using Windows Photo App

Photo App is the default picture organizer of Windows 10. It helps to organize pictures without even downloading any software or app.

Without any further delay, let’s organize pictures in Windows 10 Photos App.

1. Open Photos App

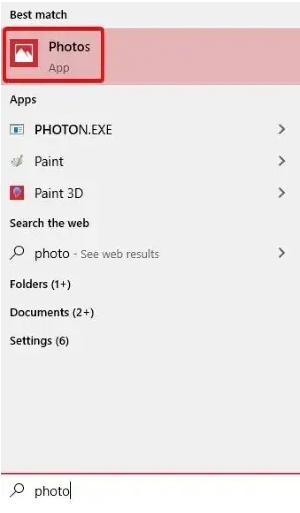
To open the Photos App, go to the start menu and search Photos. Now press “Enter”.

Windows Photo App: Launch Phot App

2. Timeline Mode

After the launch of the Photos App, you will notice all the images in a timeline. Now press the “Collection” key located at the top left corner.

Windows Photo App: Click on Collection Button

By clicking Collection, you will be able to view all your images from the PC. The most recent pictures will appear at the top as they are sorted in that manner.

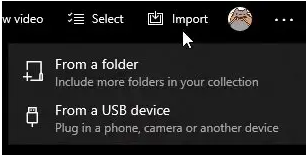
You can import the photos via the import button located in the top right corner.

Windows Photo App: Import Images

3. Create Album

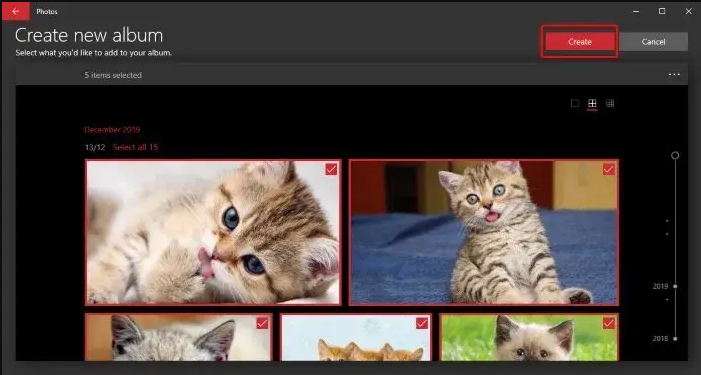
The best way to sort photos is to create manual albums by clicking the “Albums” and then clicking the “New Album”.

Now, you have to select photos that you want to add to the album ghostwriting preise. A border and a tick will show the selected files. After that, click the “Create” button.

Windows Photo App: Click on Create Button

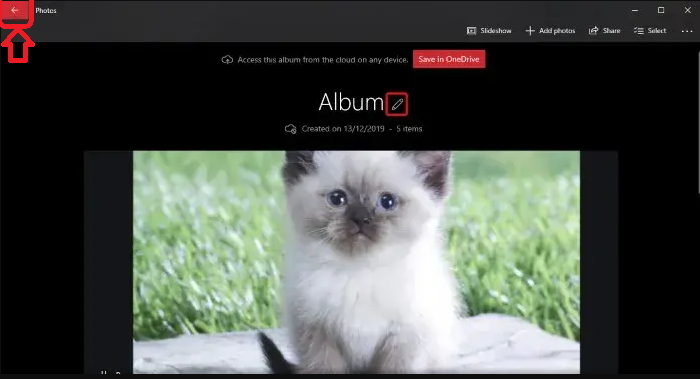
Next, click the pencil icon to type a suitable name for your album.

Windows Photo App: Create Album Name

You can use your new organized album now. Click the arrow key to go back to the home menu.

Windows Photo App: Back to Home Button

googleChrome

4. Sorting by Face

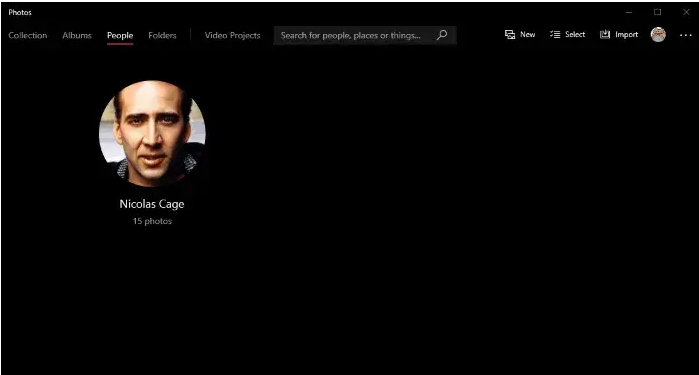
Photos App can recognize the face and sort the images accordingly schlafmaske seide. After importing folders, click the “People” tab to see the pictures sorted by facial recognition.

Windows Photo App: Sort by Face

That’s how you can sort images in the photo organizer windows. It has made the sorting of images cooler. The downside of the Photos App is that it has limited options of sorting images. It will take some precious time to manage all the albums manually kaschmir decke. A picture organizer software will do that job rather effortlessly.

Organize Pictures using PicMagic Tools

PicMagic Tools is considered the best photo organizer for Windows 10. It is an editing tool used to edit images of all types schlafdecke baumwolle. By using this tool, you can organize bulk photos in a few seconds.

Let’s check how you can organize pictures with PicMagic Tools photo management software Windows 10.


1. Download and Install

Firstly, download and install the software by visiting its official site. You can click the link to download PicMagic Tools https://www.techeeks.com/product/pic-magic-tools.

2. Launch software

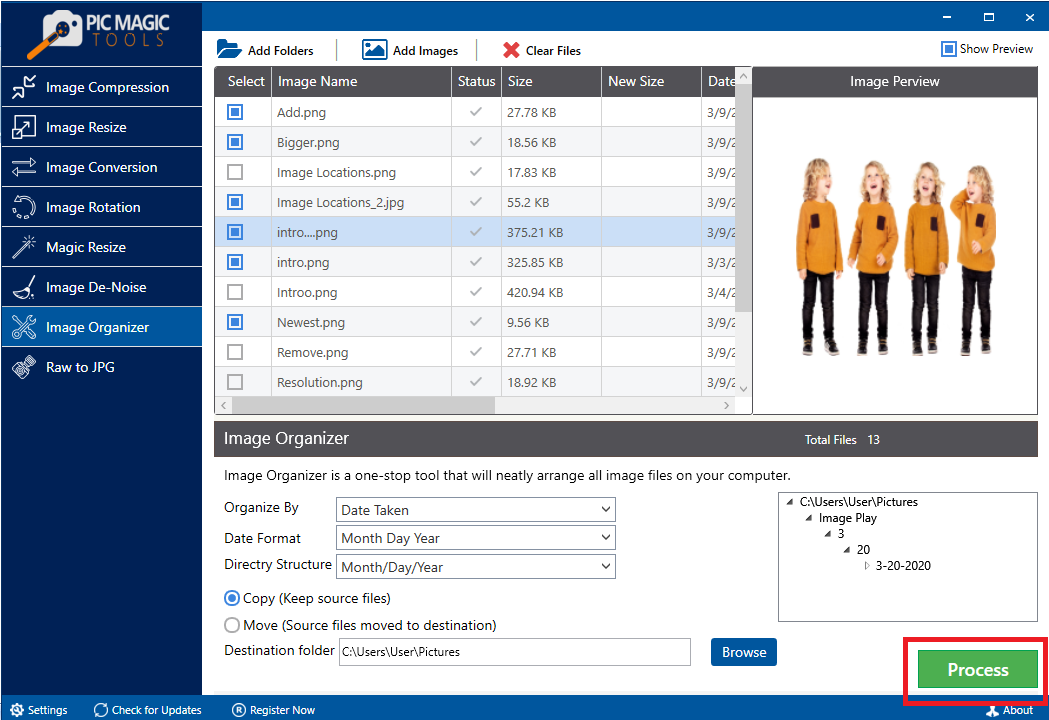
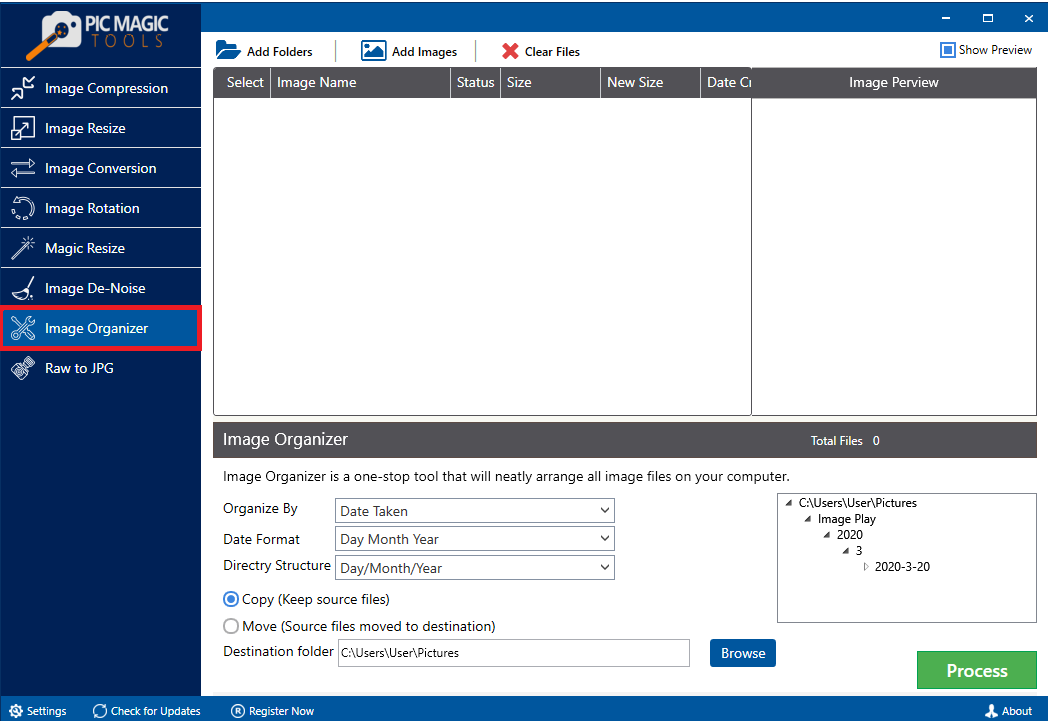
Launch the software, and click the “Image Organizer” key to organize your pictures.

PicMagic Tools: Select Image Organizer

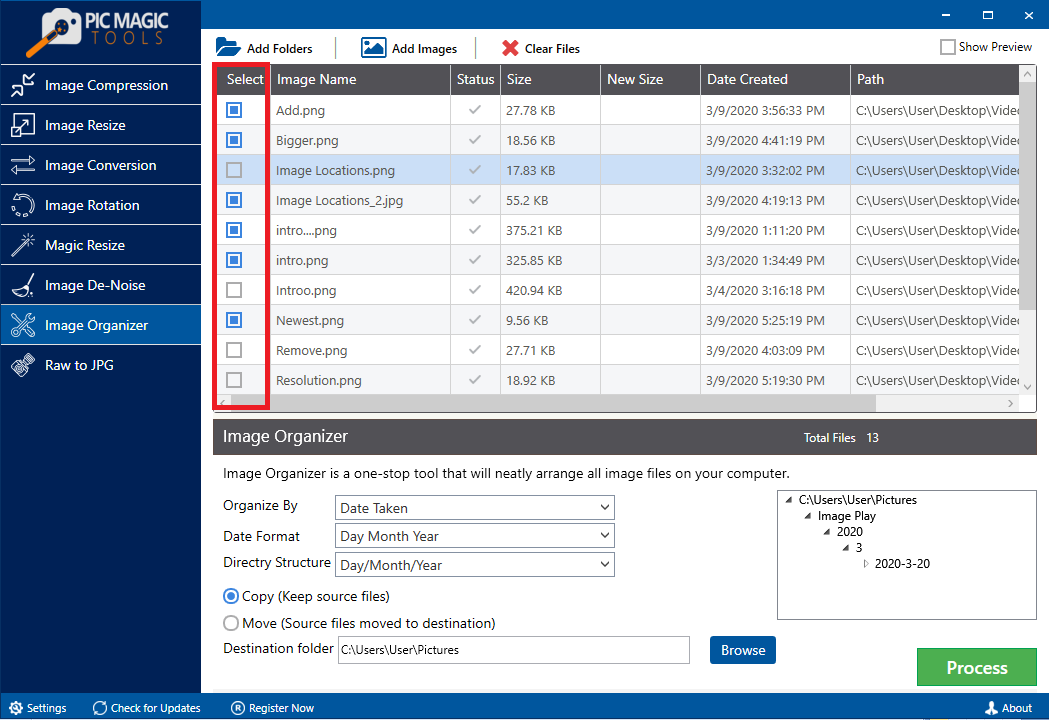
You can add folders or images by clicking the Add Folder or Add Images button.


PicMagic Tools: Import Images

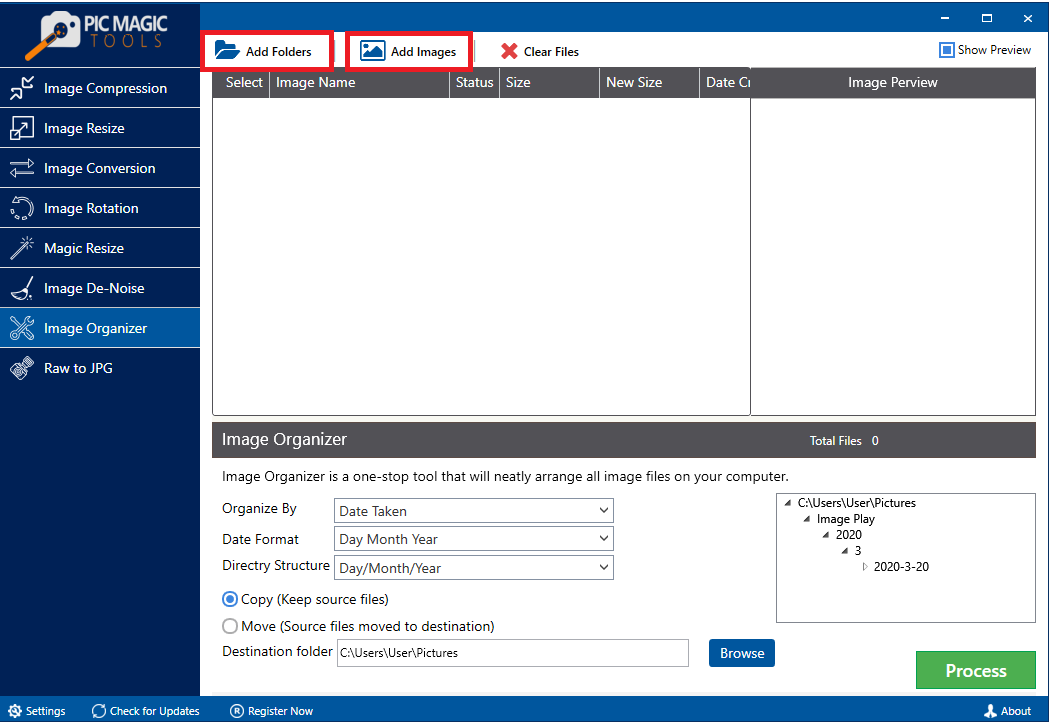
You can uncheck the images manually if the image is not relevant.

PicMagic Tools: Skip Images

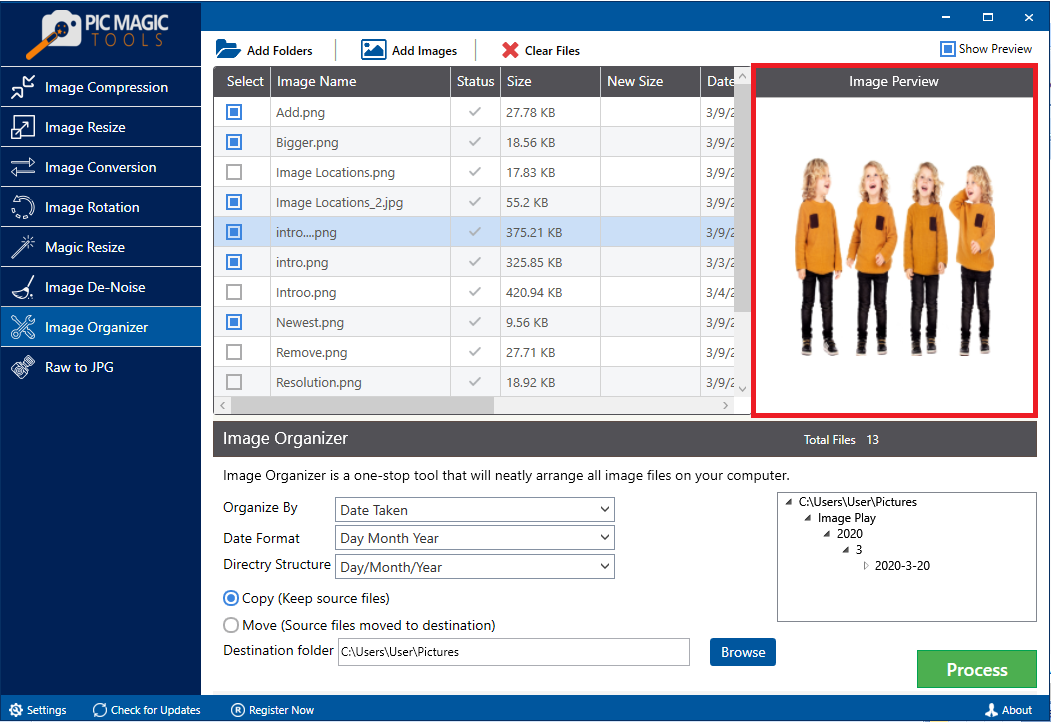
Select an image to view the preview of image.


PicMagic Tools: Preview Images

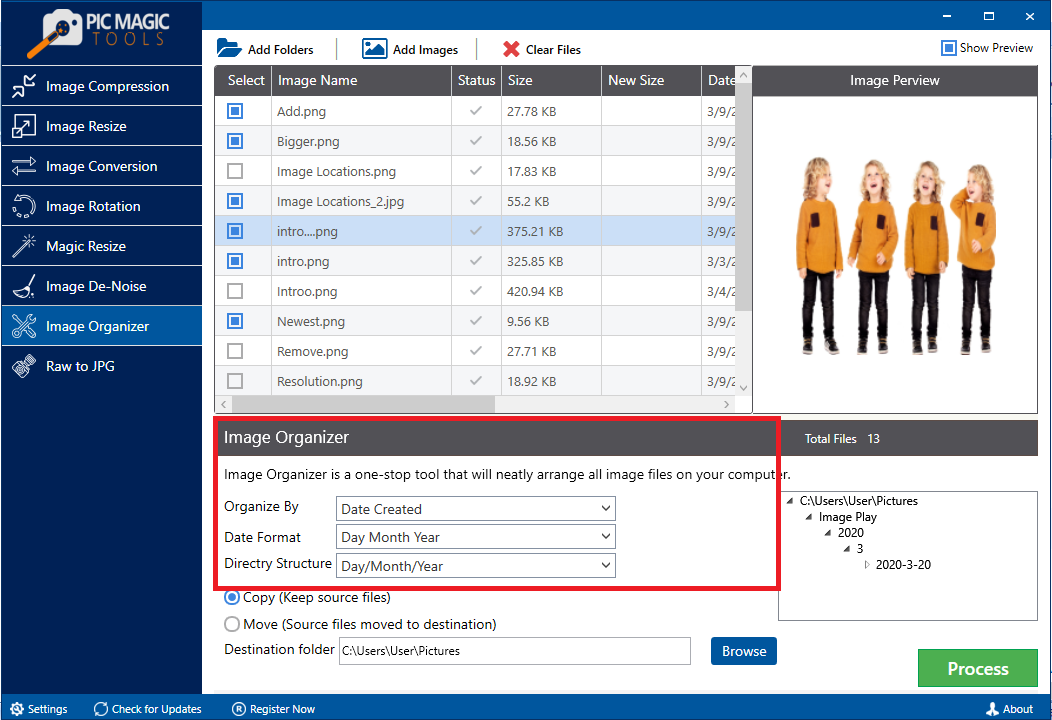
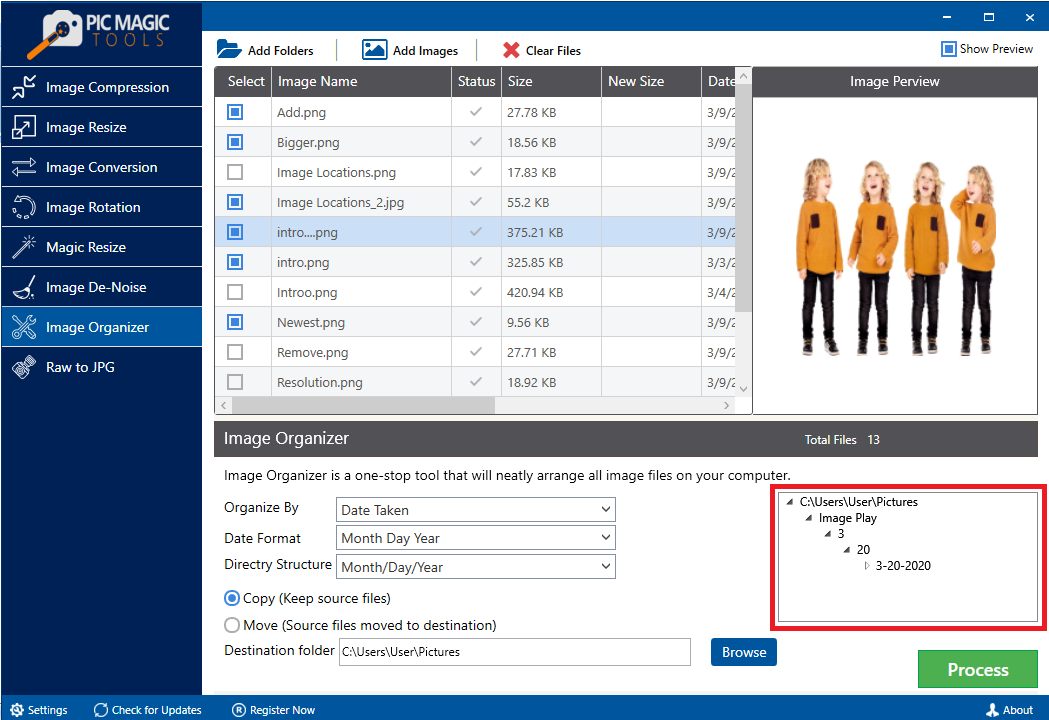
To shape the pictures, choose the desired method as you can organize by date taken, date created, and Directory Structure.

By date Created

PicMagic Tools: Choose Organizing Option Date Created

By date Taken

PicMagic Tools: Choose Organizing Option Date Taken

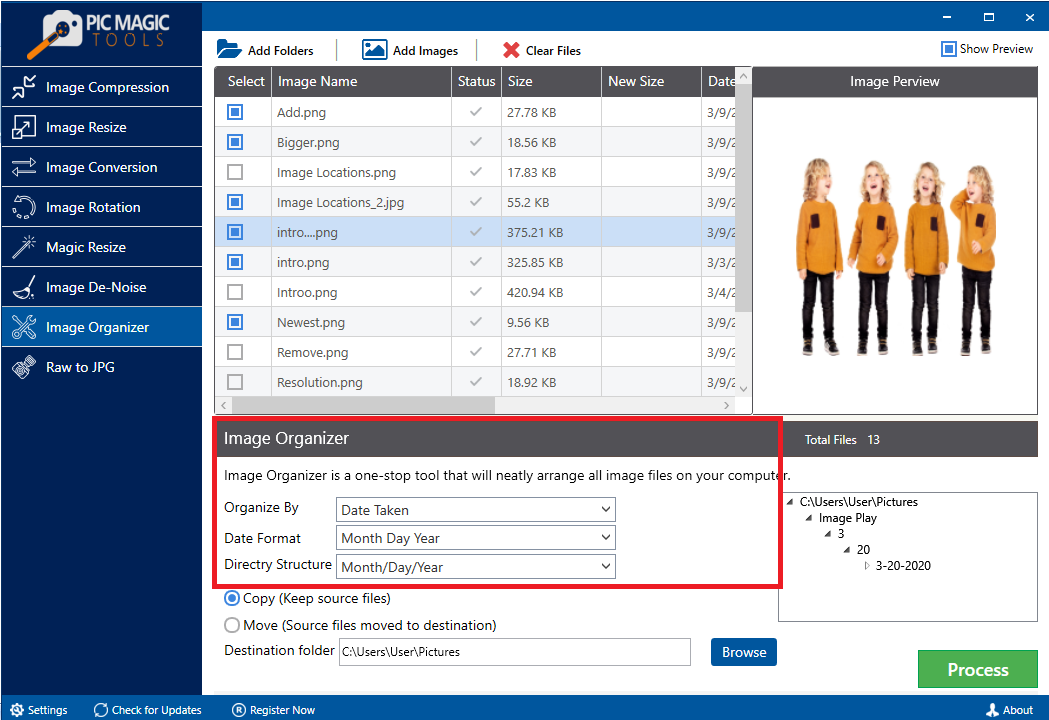
Preview the selected hierarchy.

PicMagic Tools: Preview the Organizing Hierarchy

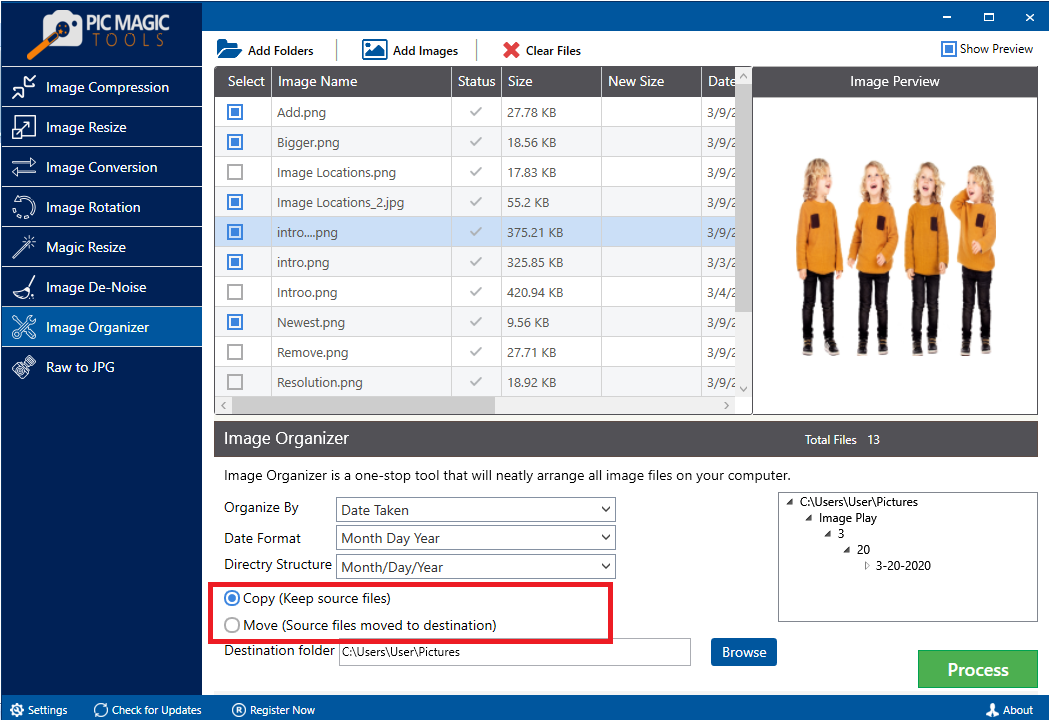
You can move or copy the files by clicking the button.

PicMagic Tools: Copy or Move

Browse the destination folder or create new folder to save the files.


PicMagic Tools: Choose Destination Folder

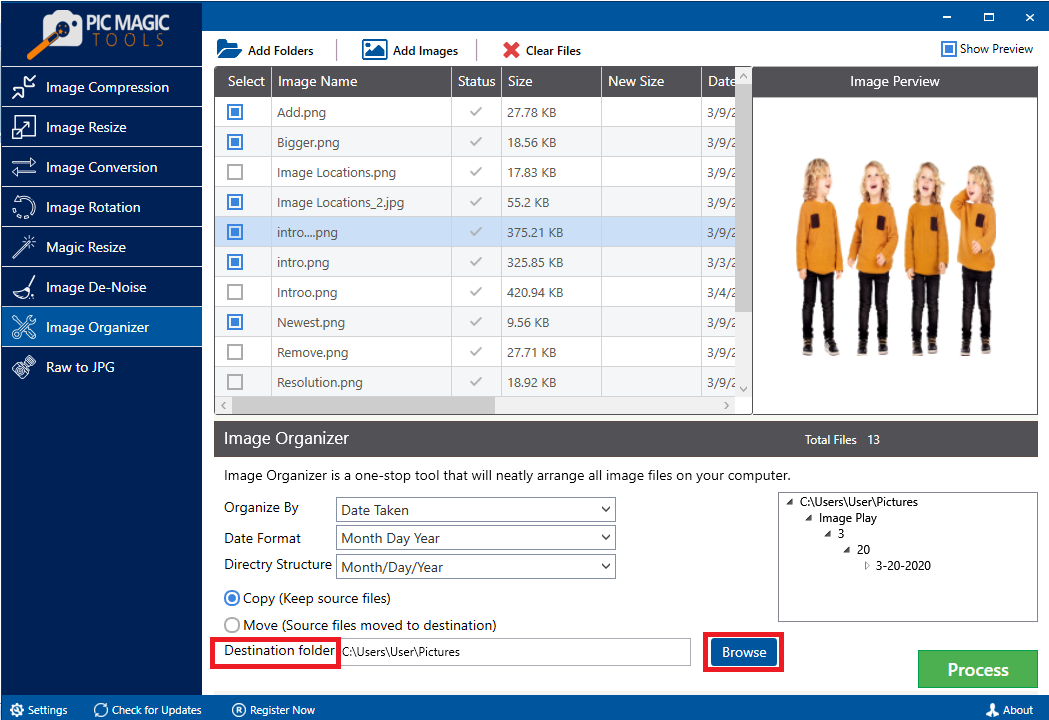
Now, click the process button and wait for the process to complete. After the whole procedure, you will see the organized pictures. That was the complete procedure of the best photo organizer windows 10.


PicMagic Tools: Processing

Conclusion

Two methods of picture organizer have been discussed in this article. One is Windows 10 default Photos App and another technique to organize pictures is PicMagic Tools. I would say, the best photo organizer Windows 10 is PicMagic Tools. Don’t waste time, download it to start organizing bulk images at once wolldecke merinowolle. With this tool, you can manage all your pictures assuredly without any data loss.