Key Points

How to Organize Photos in PC

Organizing the photos is very essential to find your memory according to your life events. Nowadays, organizing images is not a difficult task. To do this you need photo management software because with windows built-in function you can’t arrange photos in your desired directory. So, the picture organizer software makes the user’s workflow easier. The primary focus is to Organize Photos in different directory settings. This organizing software helps you stay on top of your image collection.

In this article, we will explain how you can Organize Photos with a few clicks. Here, we will enlighten the photo management software Windows 10, which is unique and has an easy user interface. Read the article to know how to organize photos on a PC.

What is the Photo Organizer Tool?

The photo management software, as the name suggests handles a large number of photos and arranges them according to the user’s will. Photo/Picture organizer software has the capability to amend the images in the most appropriate way. It organize photos by time, or by date and arranges them in a hierarchy of folders. So, after organizing the images, it will be easy for you to search for any image you want. 

Why do you need a Photo organizer?

As a skilled photographer, you take hundreds of photos. At that time, you don’t think about organizing or sorting photos. The real problem occurs when you search the never-ending photos folder to find a specific photo. It is undoubtedly a tiresome task to find the photo. That’s where you will need picture organizer software to sort and locate the photo. If the photos are organized and named properly then, it will take less time to find a specific photo of your own choice. You will need an image organizer to save time and effort.

In this guide, you will read about the best picture organizer tool, through which you can move, copy, and organize the images within a few seconds. Let’s have a look at the best picture organizer software.

Organize your Images Using PicMagic Tools

PicMagic Tools basically is editing software, through which you can edit, resize, compress, convert, reduce noise, and also organize the bulk images. The organizing method of PicMagic Tools is very unique and easy. Through PicMagic Tools, you can easily organize photos by date taken or by the date created. Download the software to organize the images and save your precious time.

Detailed Steps

Follow the steps to organize your images using PicMagic tools.

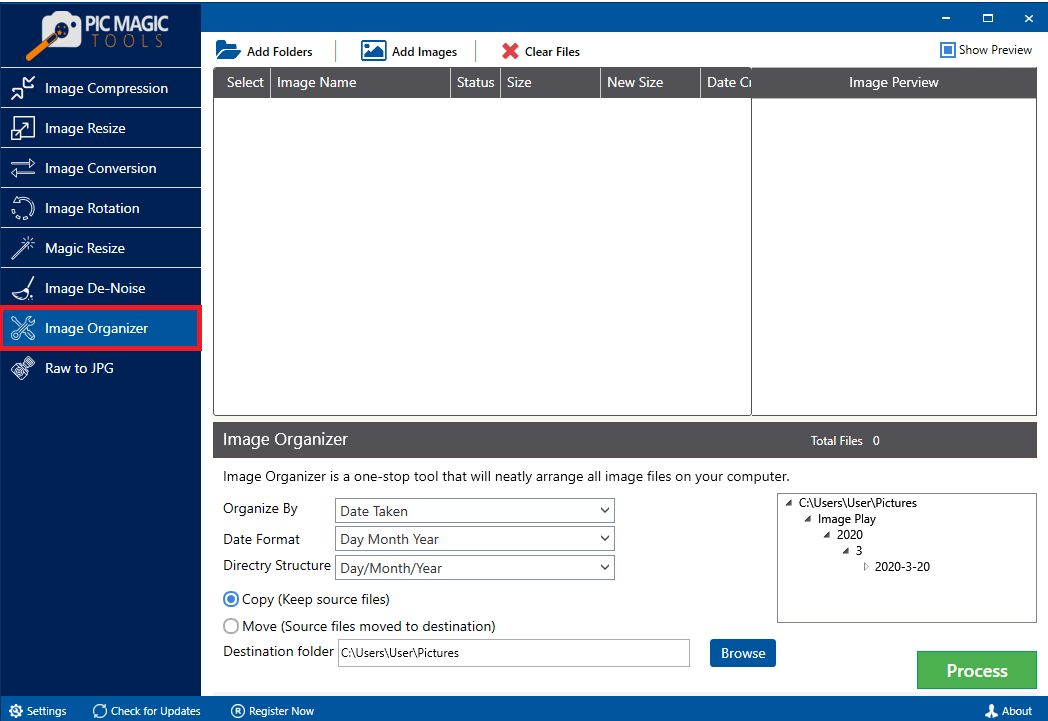
Step 1: Open the software and click the Image Organizer button located on the left side.

PicMagic Tools: Select Image Organizer Option

Step 2: Now, add the images by clicking Add Images or Add Folders.

PicMagic Tools: Import Images

Unchecked the images from the list that you do not want to organize.

PicMagic Tools: Skip Images

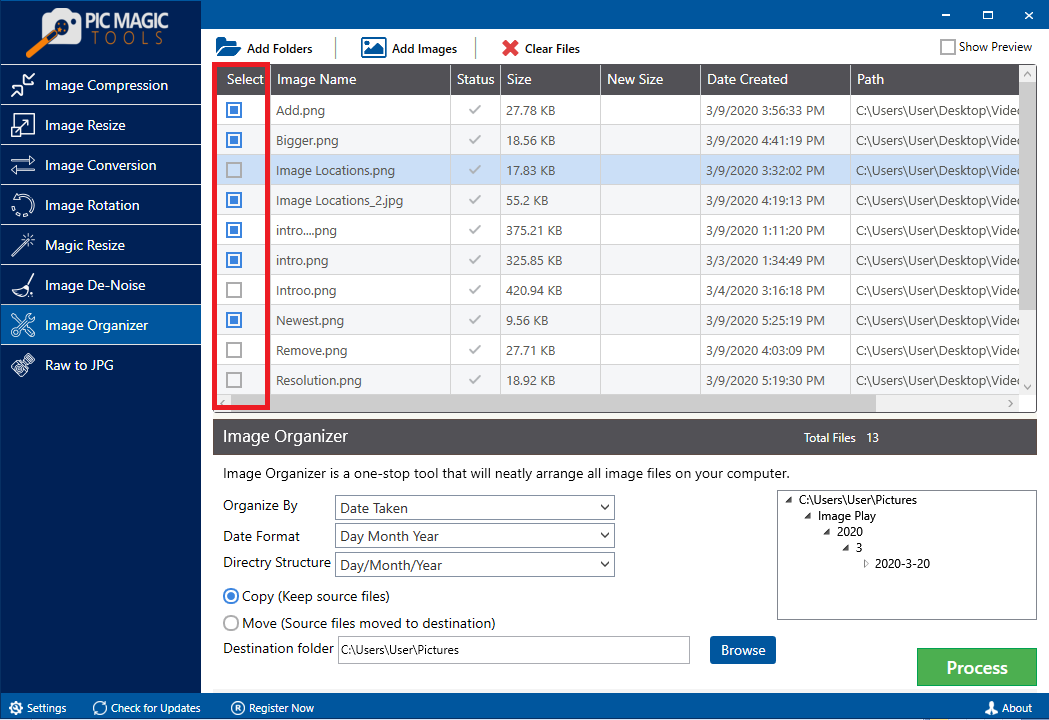
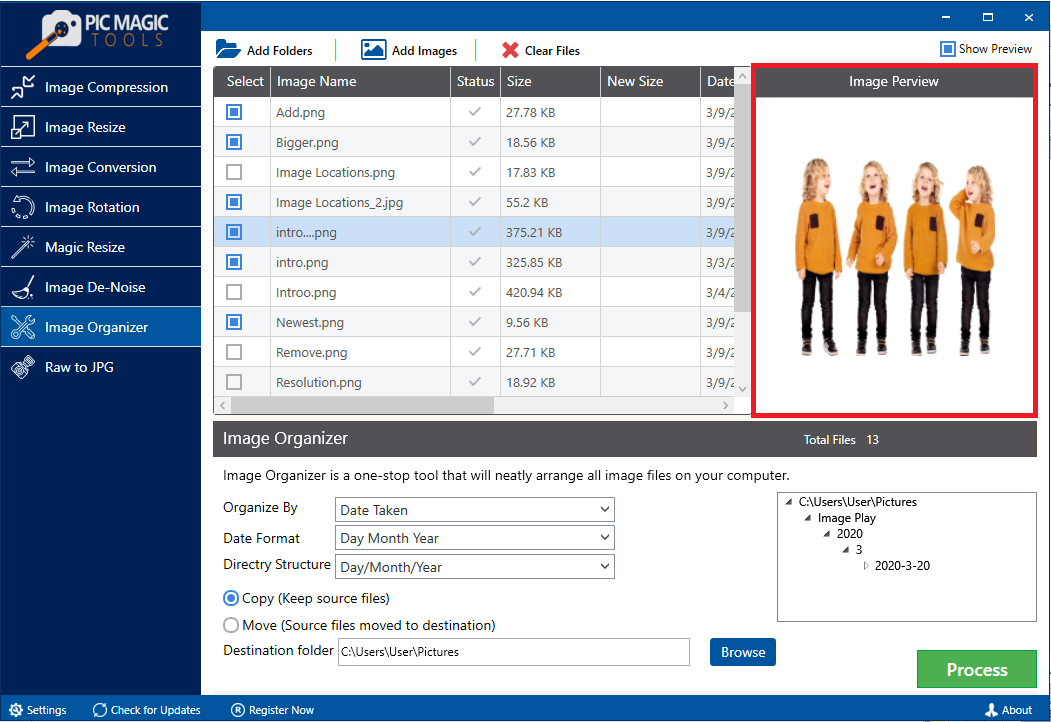
Image Preview section provides the preview of the image before the organization.

PicMagic Tools: Preview Images

Step 3: Now, select the appropriate organizing pattern. You can organize the images by Date Created, you can organize by Date Format, and even you can organize Directory Structure.

PicMagic Tools: Select Organizing Settings

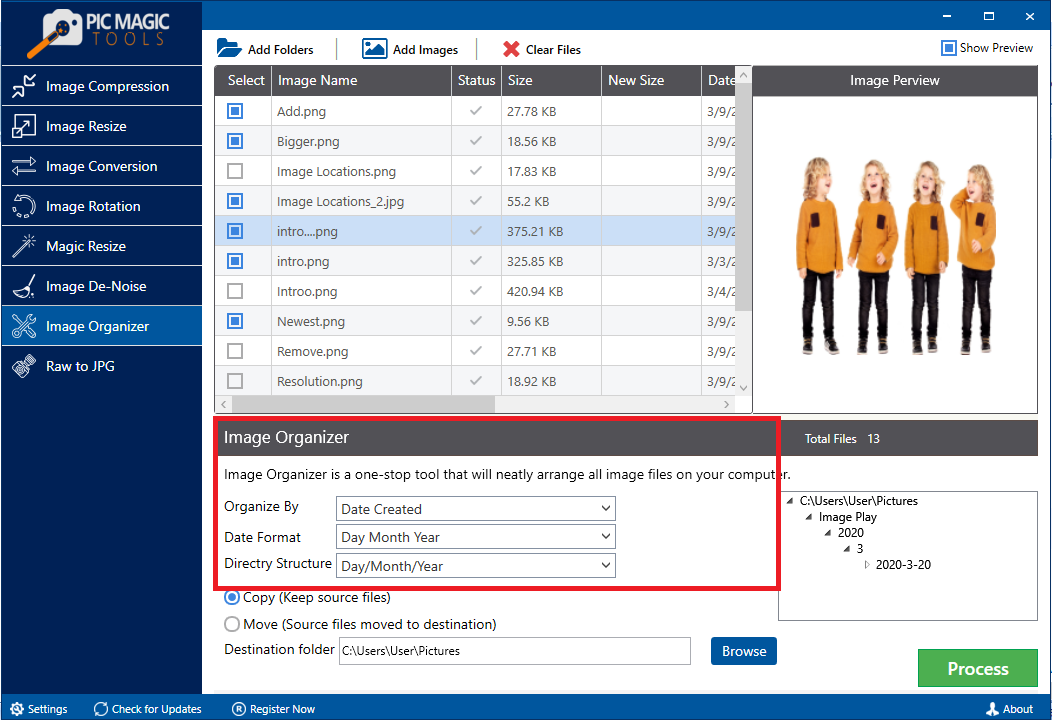
You will be able to see the organizing pattern in this section.

PicMagic Tools: Preview of Directory

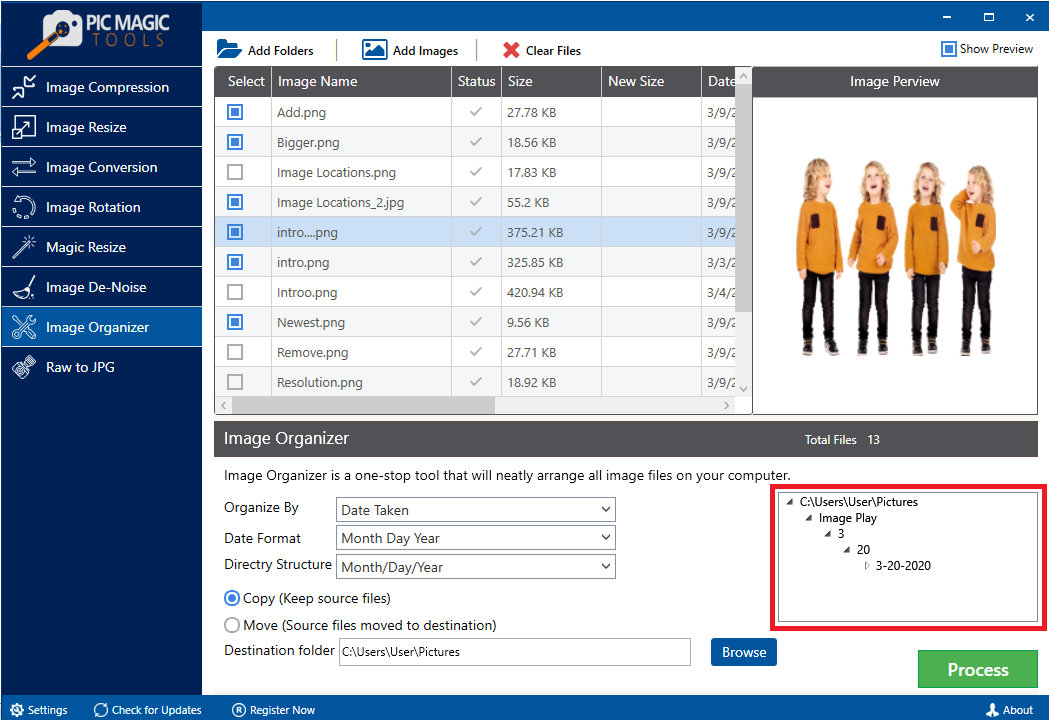
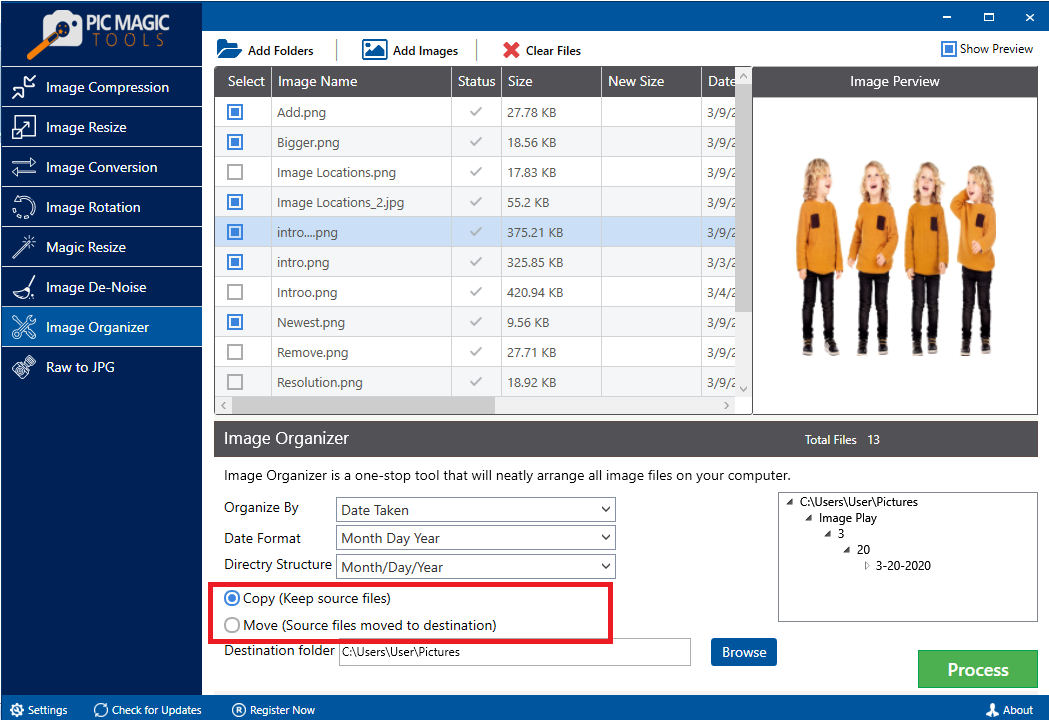
You can copy or move the original files to the destination folder.

PicMagic Tools: Choose Copy or Move Option

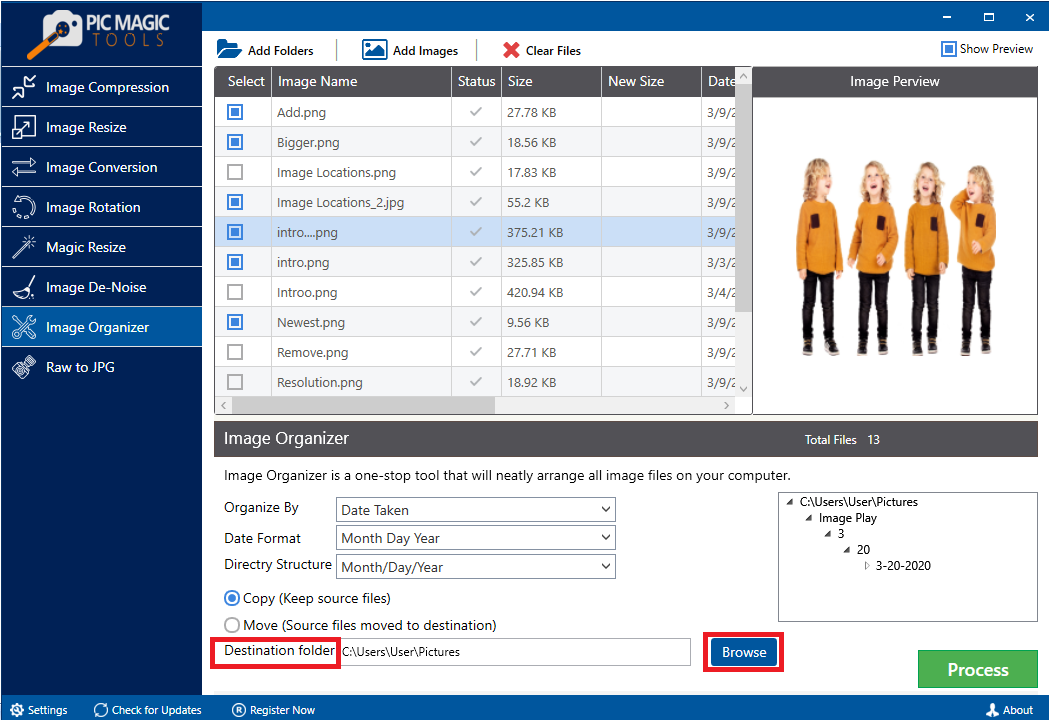
Step 4: After that, add the destination path by clicking the Browse button.

PicMagic Tools: Choose Destination Folder

Step 5: Now, click the Process button to start the organizing process.

PicMagic Tools: Start Processing

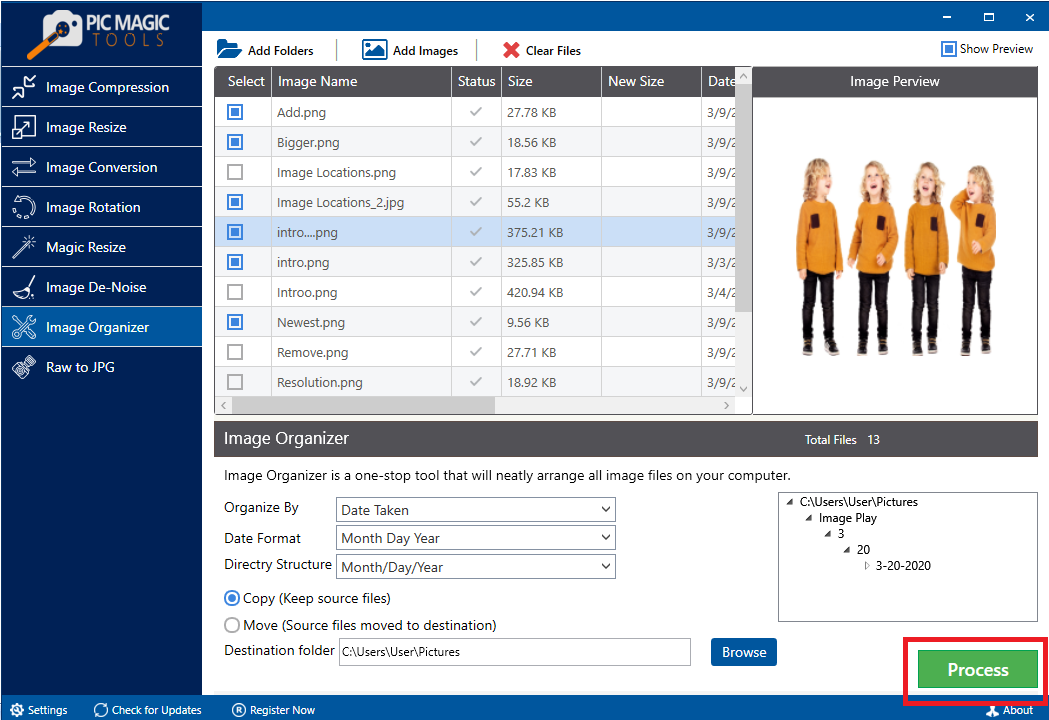
This process will not take any time and will be completed in a while. Wait for the process to end. After that, you will get your organized pictures.

googleChrome

Features

  • It has a user-friendly interface. Simply click on its icon.
  • It can download hundreds of images at once.
  • The users can also use incognito mode.
  • It can also follow links to the original image.
  • It outputs all the images as 1 zip file for the users.

How to download images from Image Downloader on Google Chrome?

You can download images in 5 simple steps from Image Downloader on Google Chrome:

  • Click on ‘’Google Chrome’’ and open it. Add the extension of ‘’Image Downloader’’. Once it is added, go to the extension page. It will directly open the Image Downloader page.
  • Open its settings and change it as per your criteria. Make sure that Image Downloader does not miss any image on the web-supported pages. Now click on the ‘’Save’’ button.
  • Choose the image/s you want to download. This process takes a minute to download all the images from the web page. Once it is completed, click on the ‘’Select All’’ option.
  • On the top-right side of the image, a blue colour ‘’Download’’ drop-down menu appears. Click on it.
  • After this, a green-coloured ‘’Yes’’ button appears at the bottom of the drop-down menu. Click on it. It will quickly download all the images. 

The Bottom Line

DownThem All on Firefox and Image Downloader on Google Chrome are the two easiest and simplest ways to download images from the web in one go. Simply install the extensions and start downloading the bulk of images from the web. The interface is simple and easy to use for users. Moreover, they offer multiple features to easily save photos from the web. Even you can download images from Instagram, Facebook, and Linkedin. Simply select the images you want to download and get the best results in minimum duration.