Paint is a built-in graphics editor tool for Windows. Paint is a lightweight tool that comes with all the Windows operating systems. Let’s check how you can magic image resize in Paint.
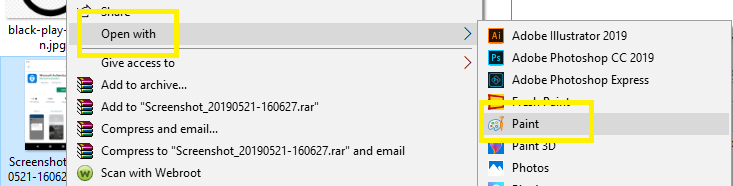
- Select the image you want to resize. Then, open the image with Paint.
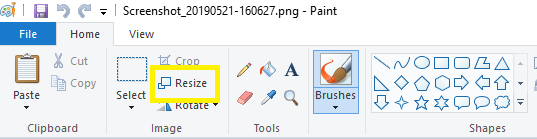
- Now, select the Resize option located at the top of the toolbar.
- You can either choose to Resize the image by Percentage or by Pixels. Remember to select the Maintain Aspect Ratio to avoid distortion.
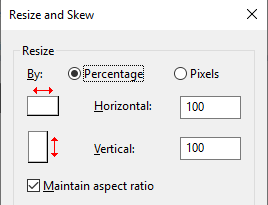
- Change the horizontal or vertical value to resize the image. After that, click the OK button.
Some images lose their quality after resizing. Also, Paint does not allow you to resize images in bulk. You can only resize one image at a time with the help of Paint.
Photos app is also a built-in feature of Windows 10. You can resize the image for Facebook cover, Instagram or other social media sites with the help of it. Follow the steps to learn how to magic resize images in the windows 10 Photos app.
- Open the chosen image with the Photos app.
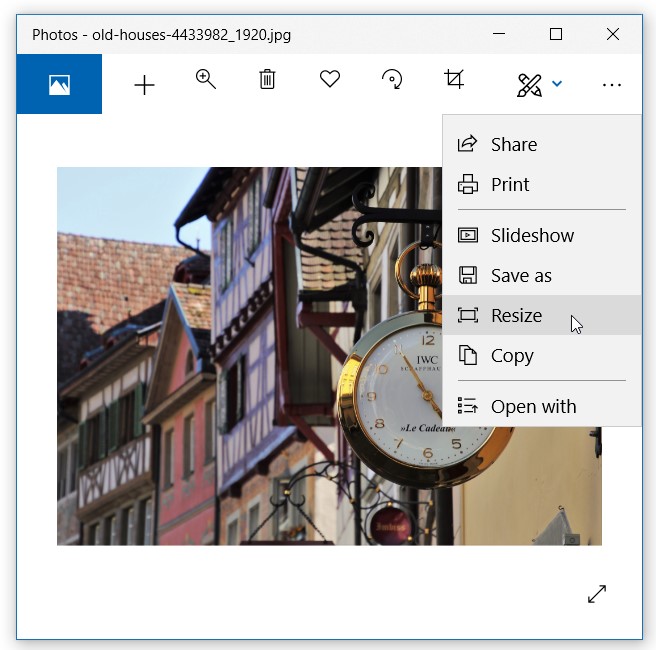
- After that, open the menu by clicking the three dots. Now, select the Resize option from the list.
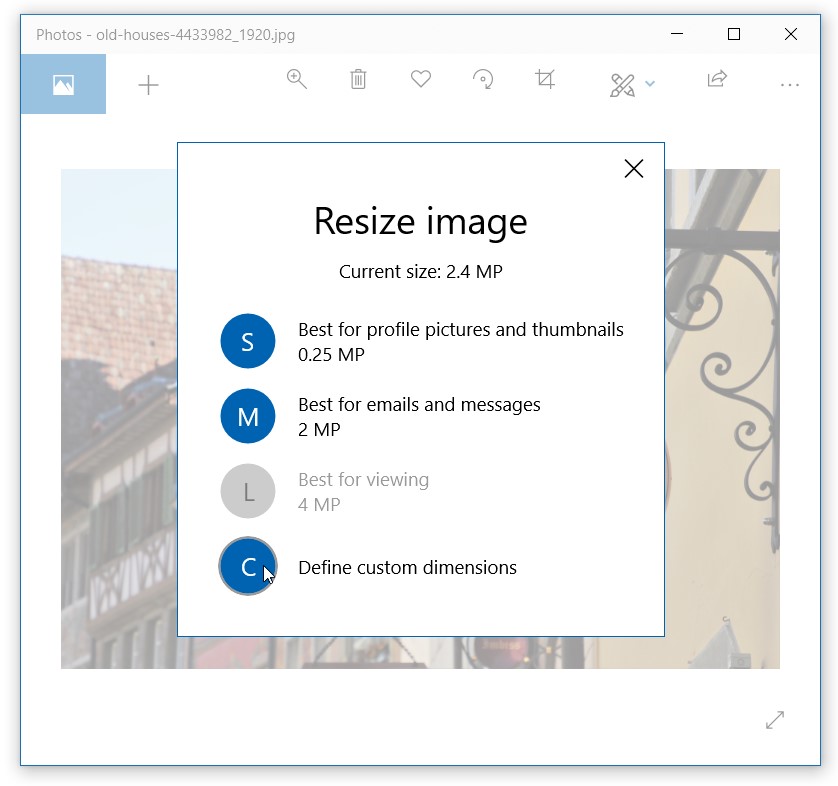
- After clicking the Resize option, a dialog box with four options will pop up. Small, Medium, Large, and Define custom dimensions are the listed options. Choose the Define custom dimensions option.
- Maintain Aspect Ratio will always be checked by default, which means you have to provide either Width or Height. You can unchecked the box to enter your desired dimensions.
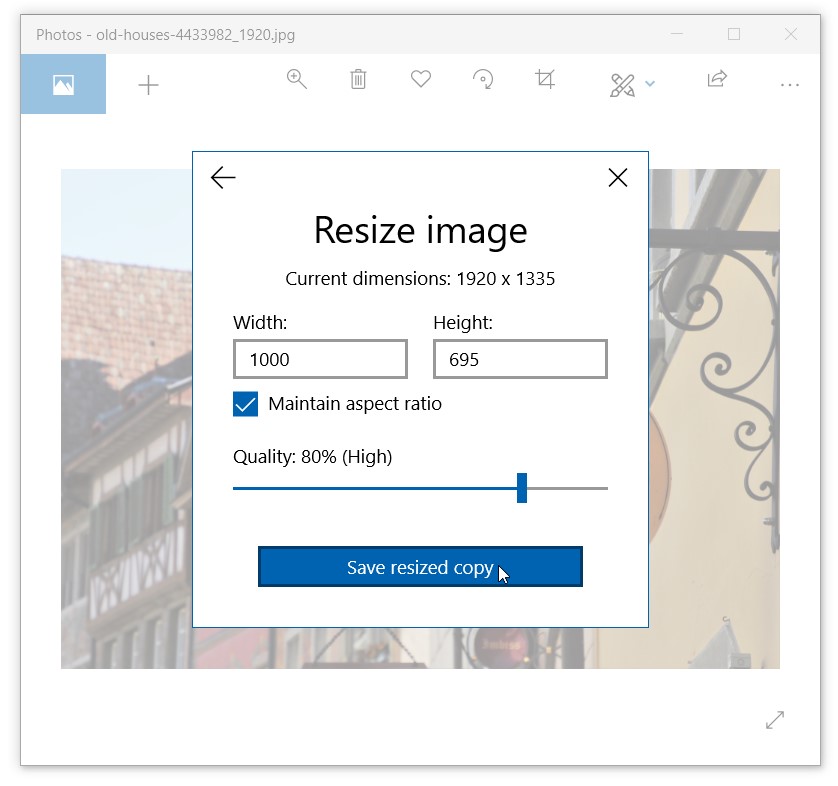
- In the end, click Save resized copy and provide the destination folder.
Sometimes the images lost their original beauty like stretched, blur, or skewed by resizing. So, always use a trusted tool to resize the image.
Step 1: Download and install the PicMagic Tools.
Now, open the PicMagic Tools and select the Magic Resize option from the list.

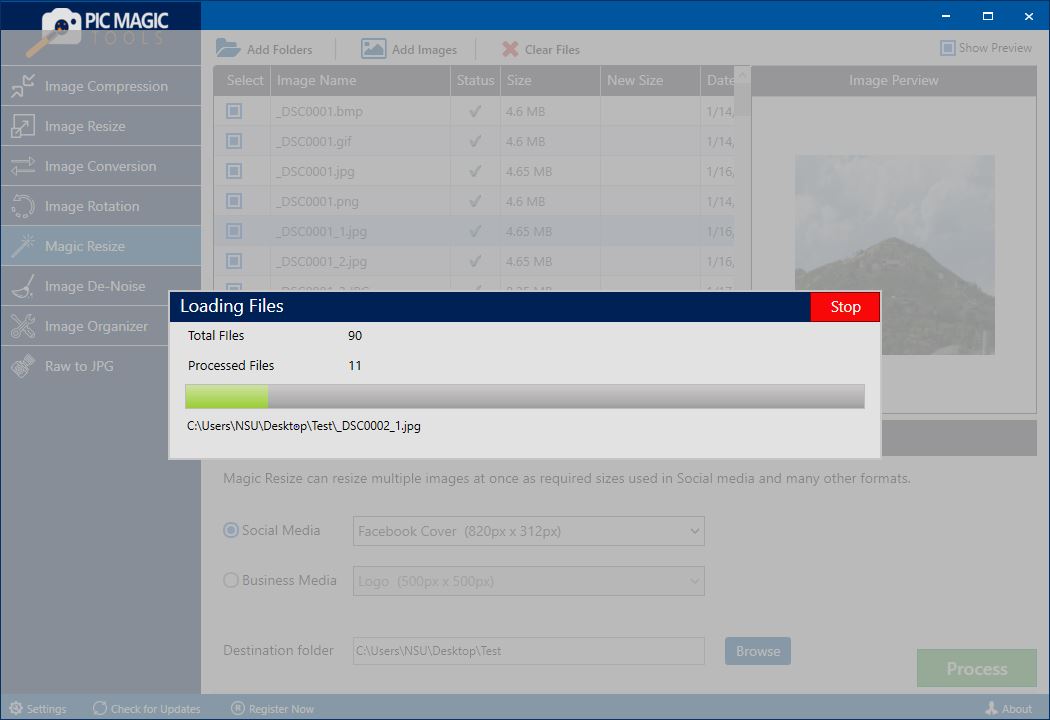
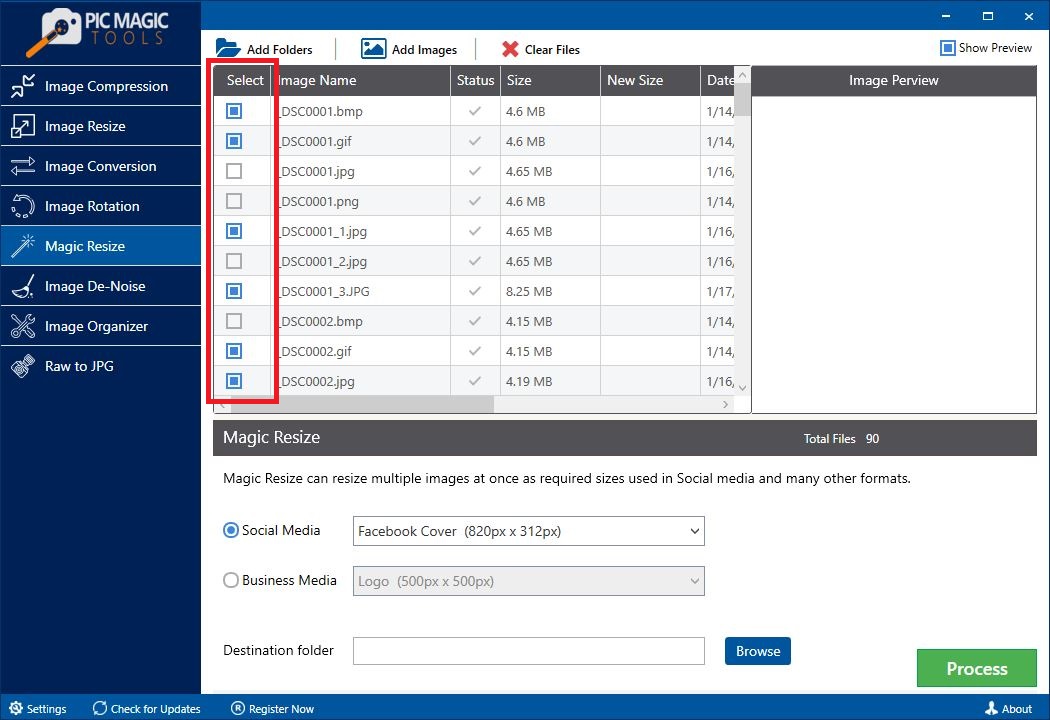
Step 2: Now, add the images by clicking the Add Folders and Add Images option.
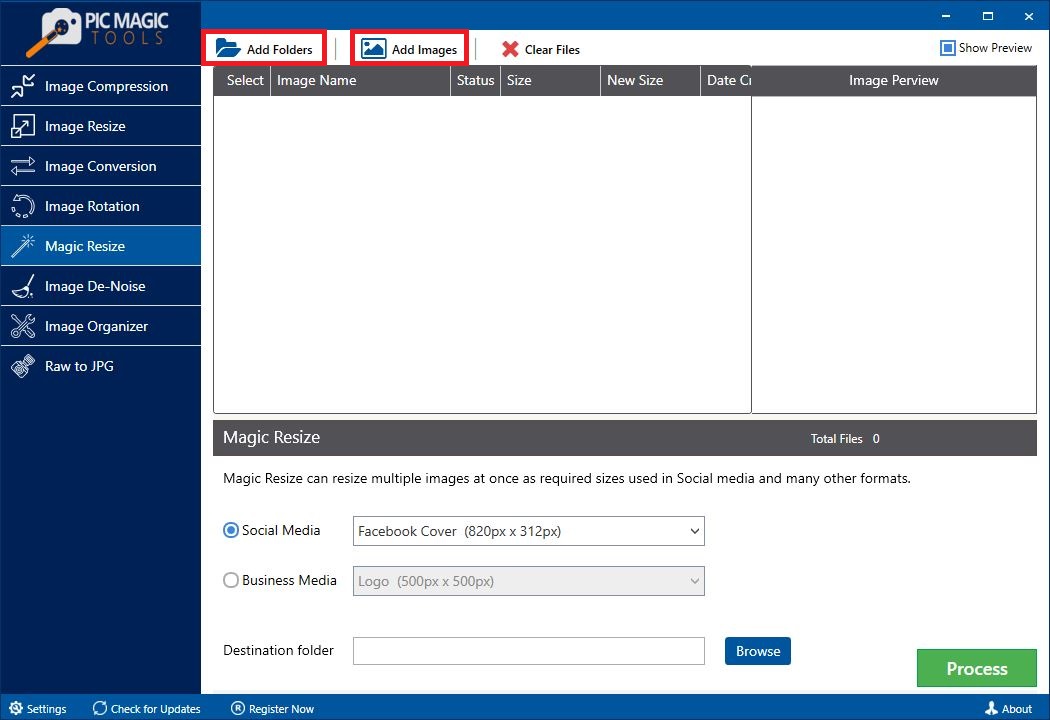
You can also resize the desired images from the by default checked list.
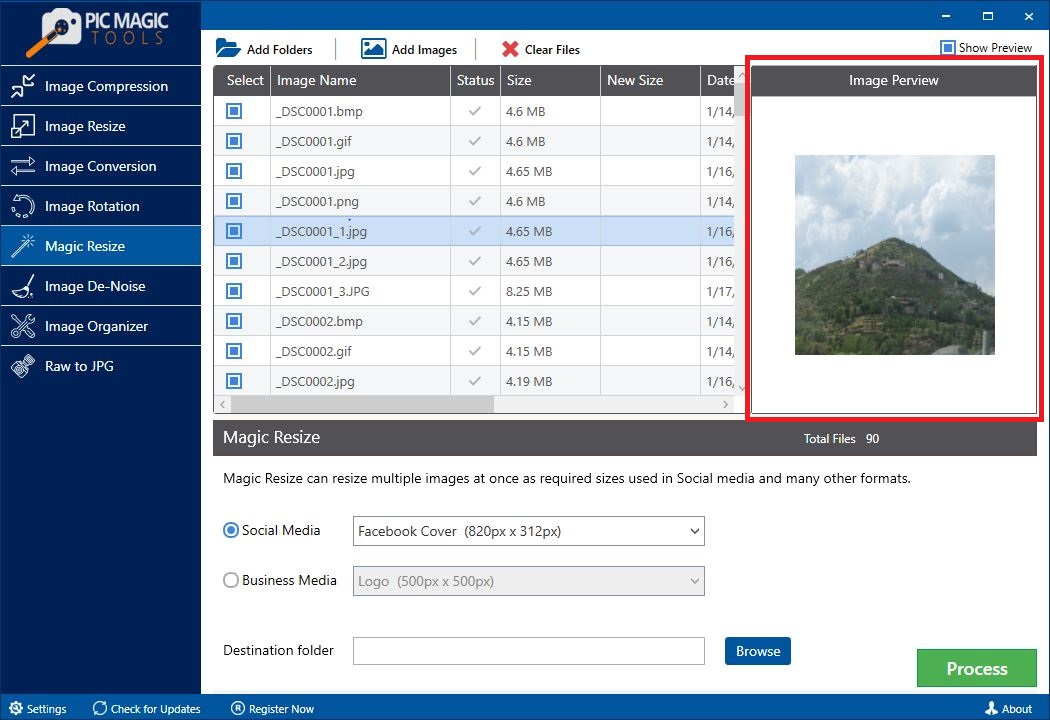
PicMagic Tools also shows the preview of the selected images in the Image Preview section.
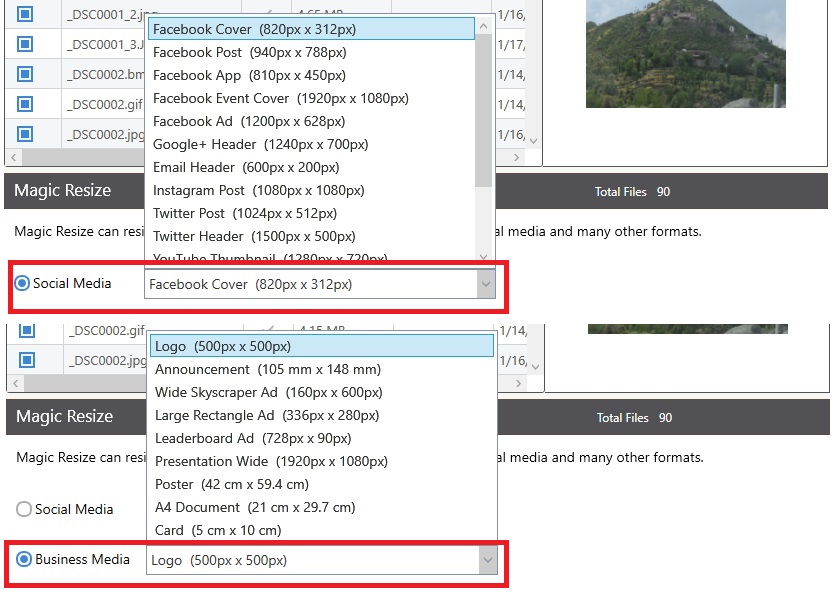
Step 3: Now, select the appropriate option;
- Social Media. Choose a profile or cover image of Facebook, Instagram, twitter, YouTube, and google+.
- Business Media. Choose posters, ads, card sizes, and logos.
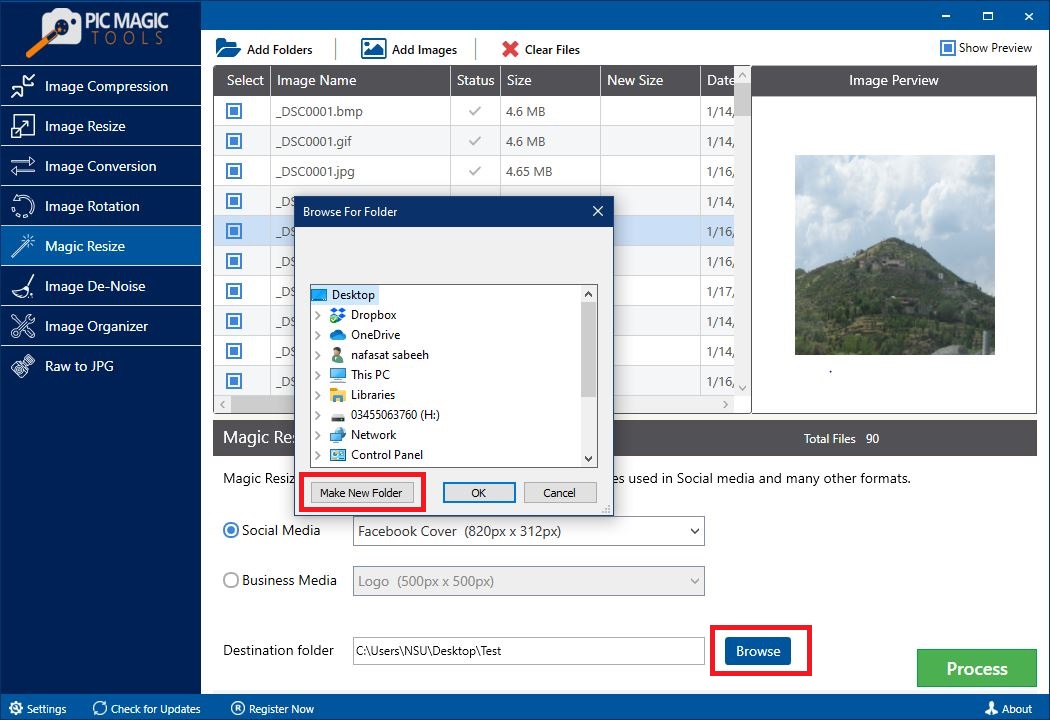
Step 4: Now, click the Browse button and provide the destination folder to save the resized images.
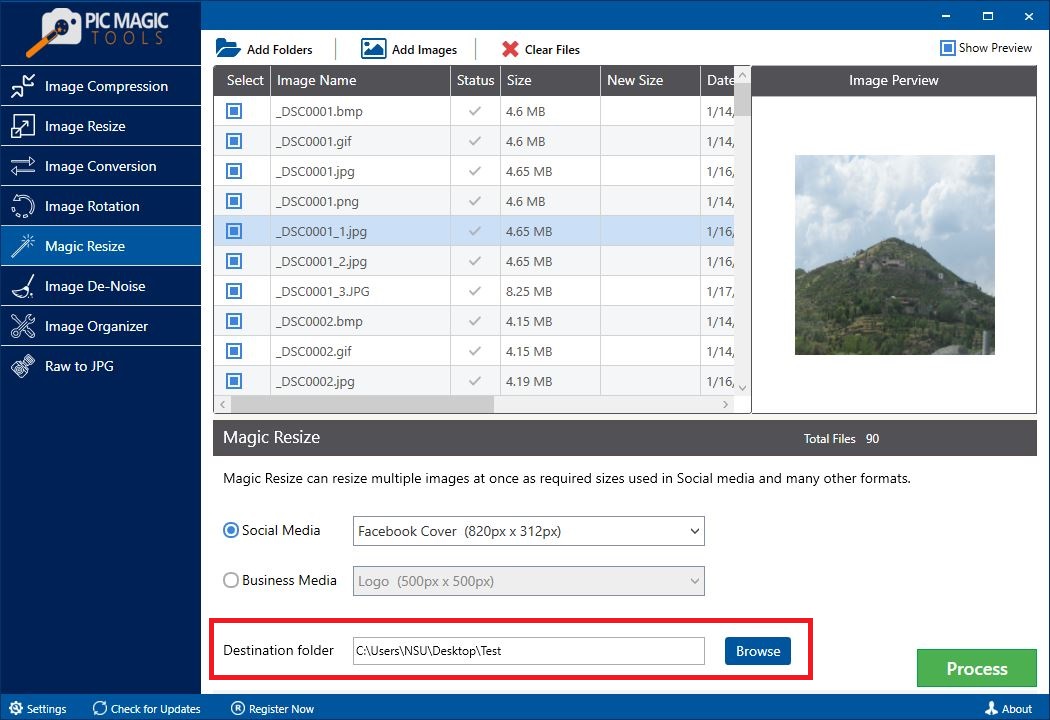
By clicking the Browse button you can also create a new folder.
Step 5: To start the proceedings, click the Process button.
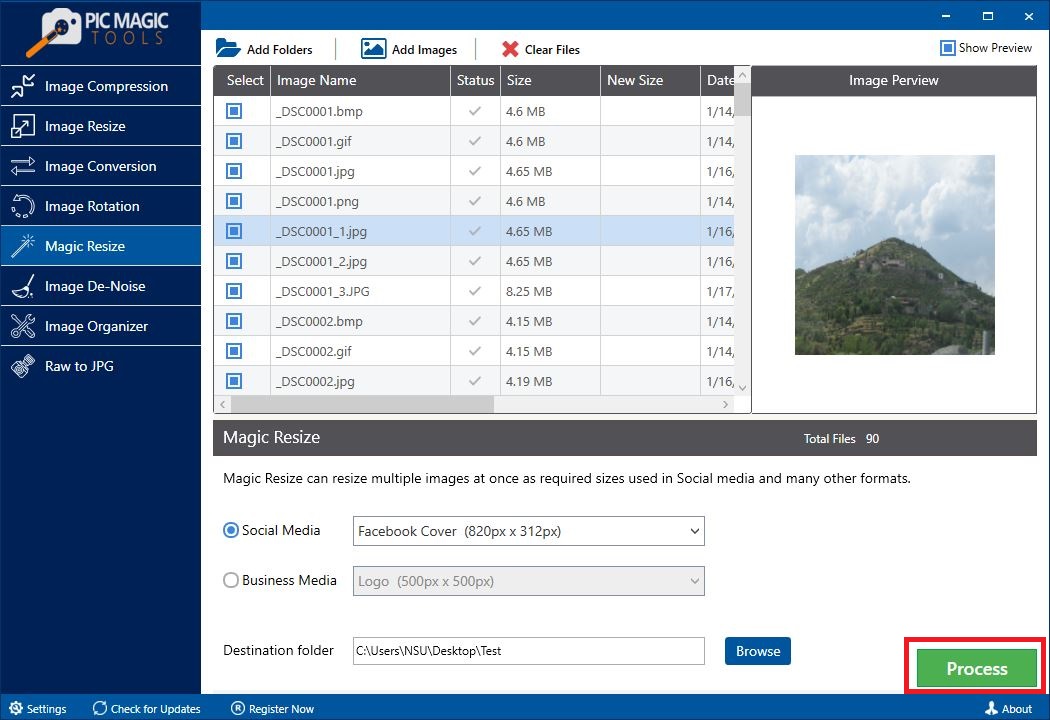
The process will take some necessary time to complete.