Key Points

How to Convert an Image to PNG Format

Pictures or photos are of different file formats like JPG, JPEG, GIF, PNG, and BMP.  PNG is a world-famous image format used all over the world. The good thing is that you can convert images to PNG in Windows 10 with very simple steps. You can convert image format through Windows built-in apps or the bulk image converter tool. If you want to convert JPG to PNG using Windows apps, you can lose the quality of that image.

In this guide, we will show you how to convert JPEG to PNG without losing the image quality. You can use the PicMagic Tools for image conversion, which is by far the best tool for image conversion. Follow this guide to convert images to PNG format.

What is a PNG File?

PNG is a well-known Image format used in Graphics. PNG is a lossless file because it does not degrade the quality of the image. PNG supports both the 24-bit colour and the 8-bit colour. PNG also supports different levels of transparency.

PNG is the successor to GIF and JPG. PNG file size is larger than the JPG or GIF files.

Method 1. Convert Image to PNG using Paint

Microsoft Paint is a built-in image editor tool for Windows. By using Microsoft Paint, you can convert images to PNG in Windows 10. It will not harm the quality of the original image. The downside to using Paint is that you can only convert images manually. Microsoft Paint will not allow converting the bulk of images at once.

Converting all images one by one is a very time-consuming process google ads Agentur. So, you can use the Bulk Image Converter tool to do the image conversion job easily.

Detailed Steps

Follow the steps to convert JPG to PNG.

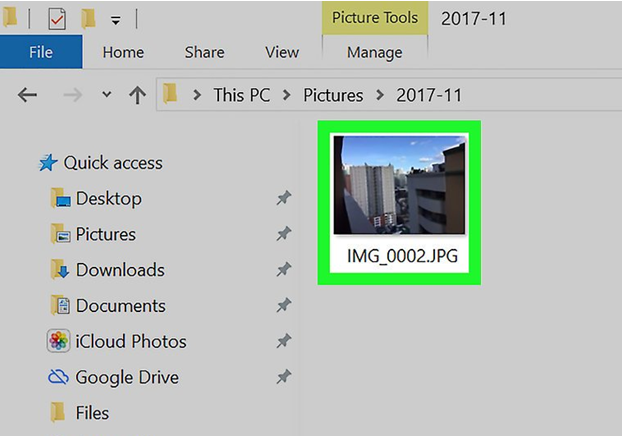
Step 1: Open the image that you want to convert in the Photos app.

Windows Paint: Open Image

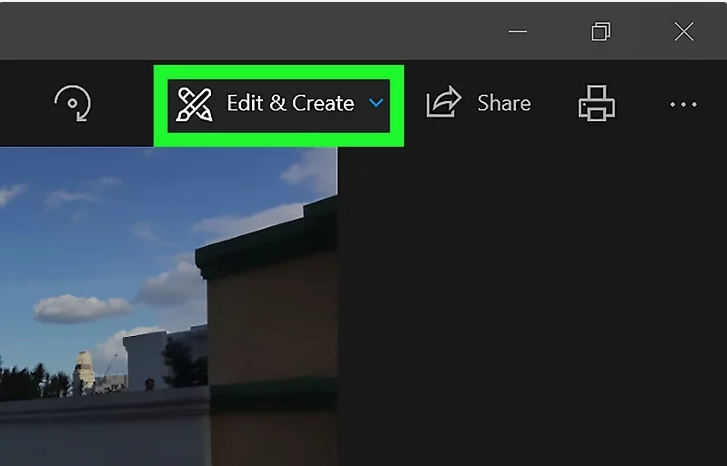
Step 2: Now, click Edit & Create option located at the top of the Photos app.

Windows Paint: Choose Edit Function

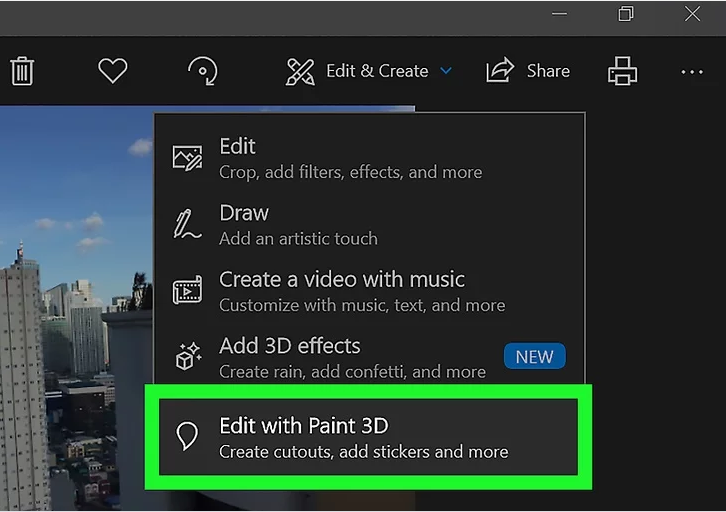
Step 3: A drop-down menu will pop up after clicking the Edit & Create button. Now, click Edit with Paint 3D.

Windows Paint: Choose Edit with Paint 3D

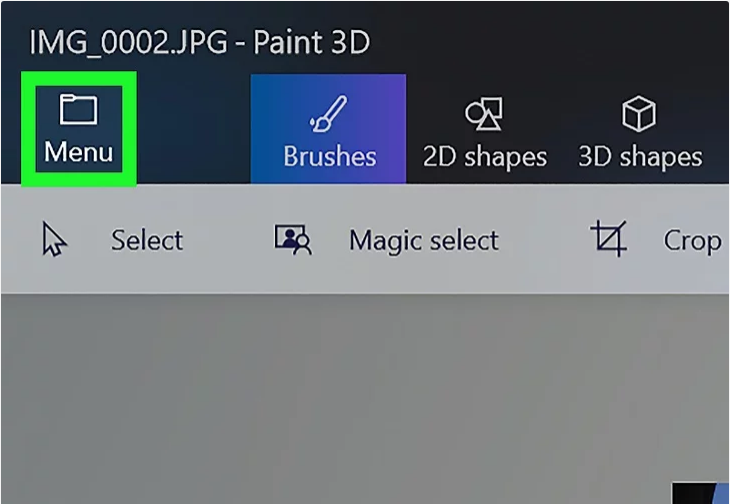
Step 4: This option will open the JPG image in Paint 3D. Now, click the Menu option.

Windows Paint: Click on Menu

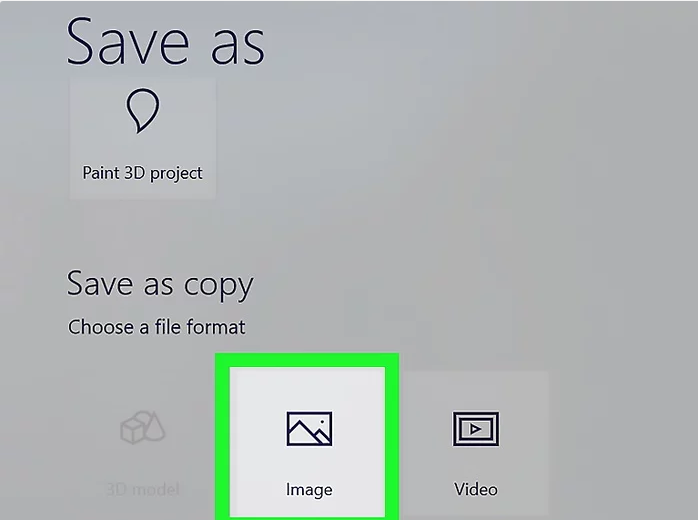
Step 5: By clicking the Image section a Save As window will pop-up.

Windows Paint: Click on Save as

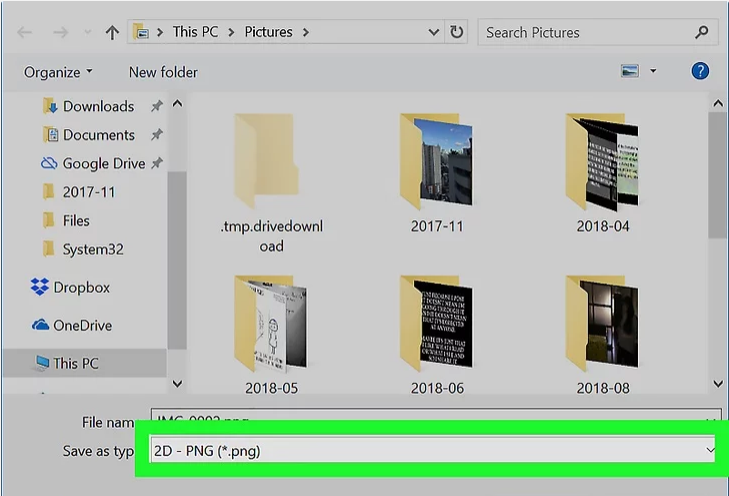
Step 6: Select 2D – PNG (*.png) in Save as the type to convert the image in PNG format. You can also add the file name.

Windows Paint: Choose Type

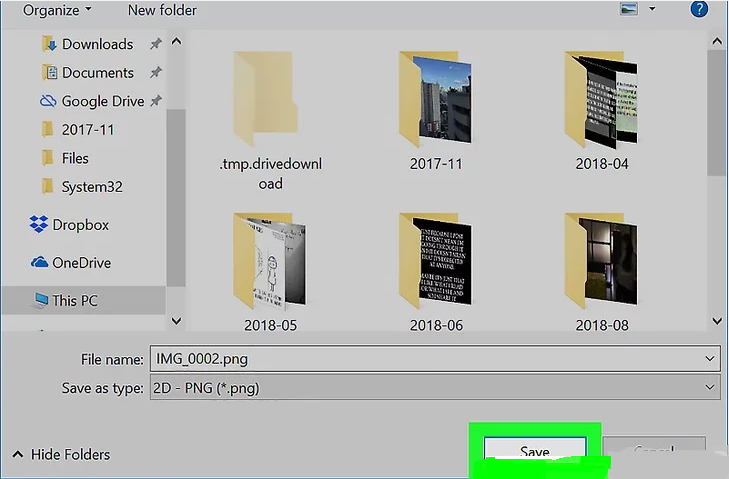
Step 7: Now, click the Save button to save the image in the PNG format.

Windows Paint: Save the Image

That’s the whole procedure to Convert an Image to PNG.

Method 2. Convert Image to PNG using PicMagic Tools

PicMagic Tools is a Bulk Image Converter Tool, through which you can convert images to PNG, JPG, and, etc. Moreover, you can convert the format of images in bulk with a lot of ease Amazon ppc AgenturIt provides the functionality to convert multiple image formats to the chosen format.

Detailed Steps

Follow the steps given below to convert the Images into PNG or any other desired format.

Step 1. Download the PicMagic Tools. Install the software on your computer.

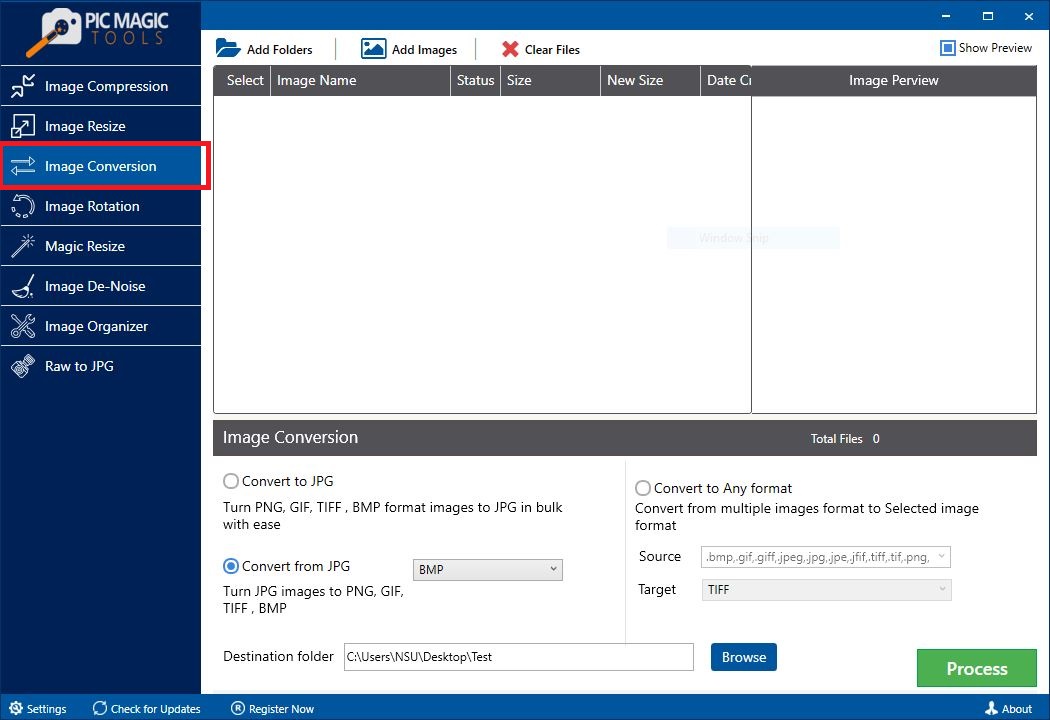
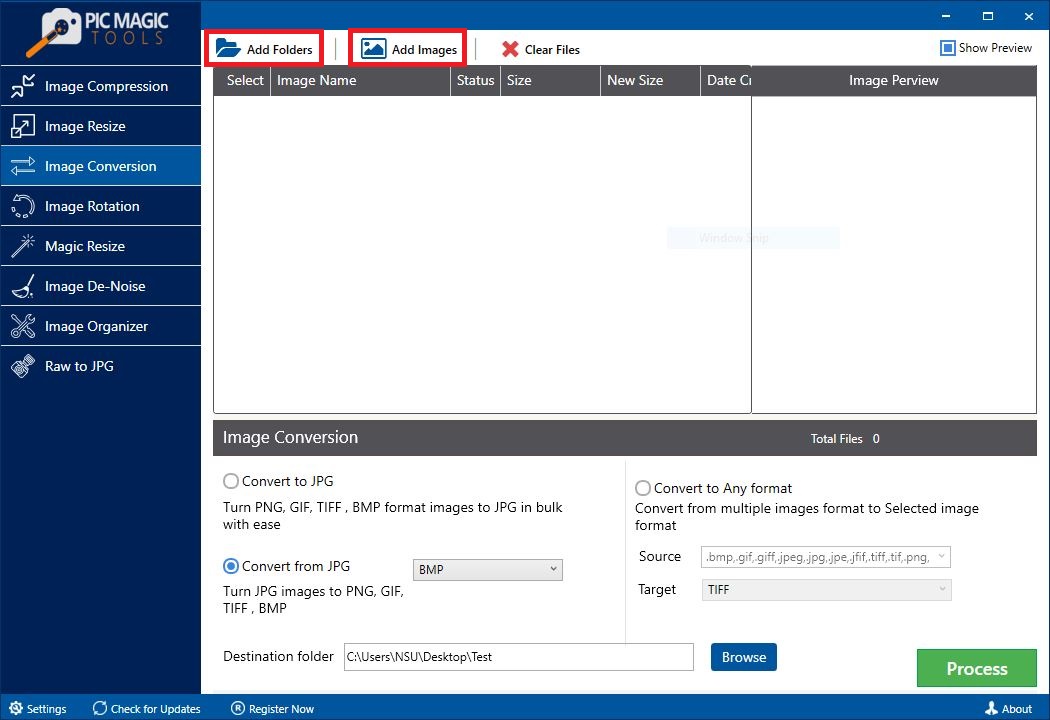
Step 2. Open and run the program ghostwriter diplomarbeit preis. Now, click the left listed Image Conversion button.

PicMagic Tools: Select Image Conversion

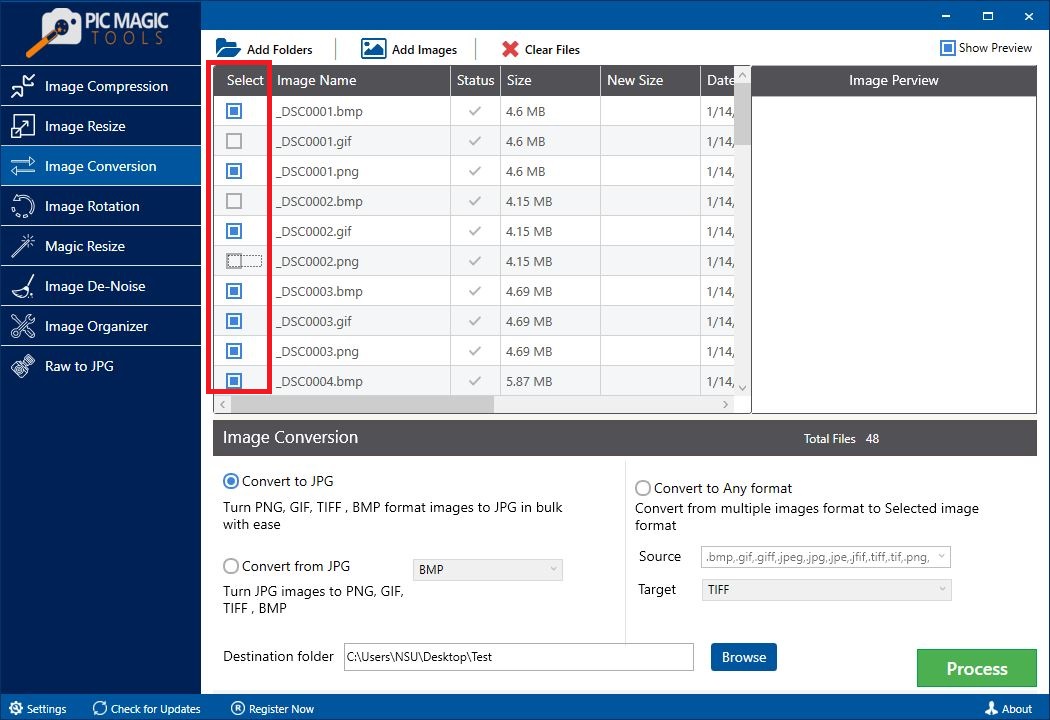
Step 3. Add the images by selecting from the folder or by adding the folder.

PicMagic Tools: Import Images

You can skip any image from compression by unchecking it from the list Statistik beratung.

PicMagic Tools: Skip Image

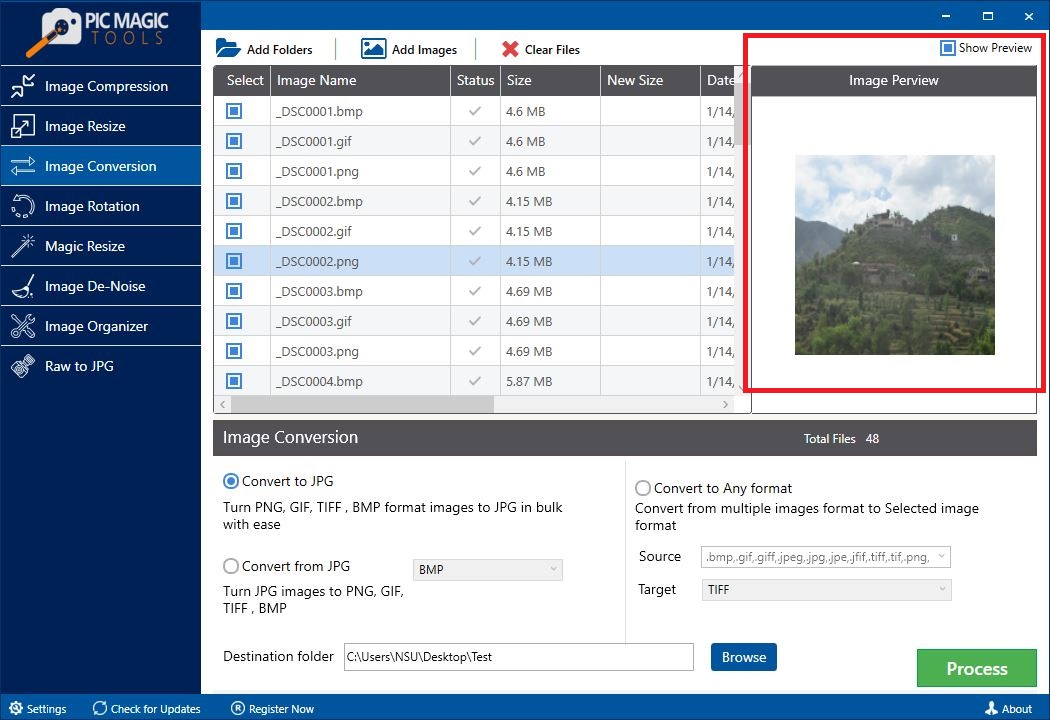
PicMagic Tools has the feature of the preview image. For that, click on any image to see the image in the Image Preview section.

PicMagic Tools: Preview Image

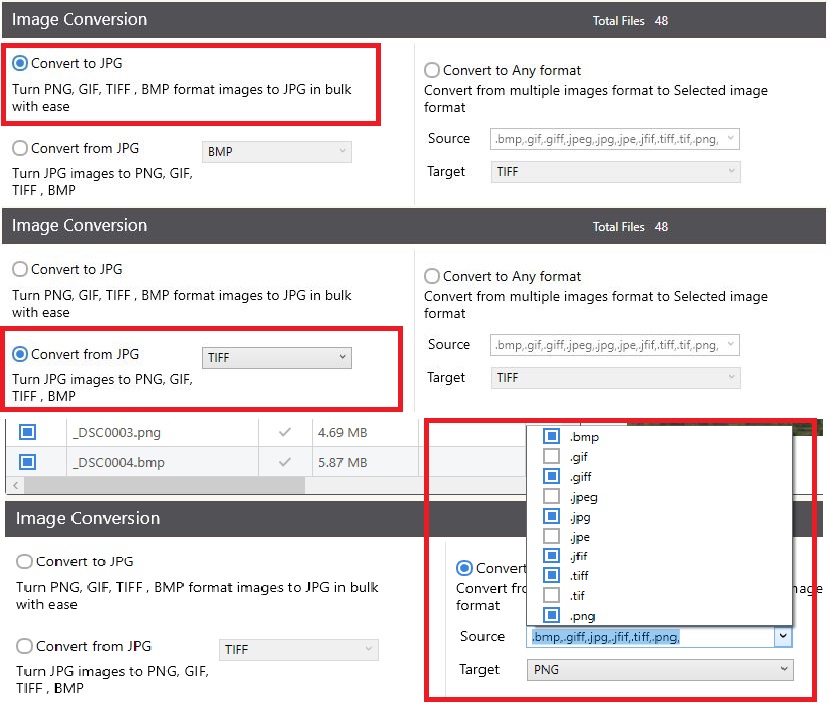
Step 4. Now, its time to select the desired conversion option.

  • Convert to JPG. Convert PNG, GIF, TIFF, BMP formats to JPG in bulk.
  • Convert from JPG. Turn JPG to PNG, GIF, TIFF, BMP formats.
  • Convert to any format. Convert from multiple image app erstellen lassen formats to selected image formats in batch.

PicMagic Tools: Select Conversion Function

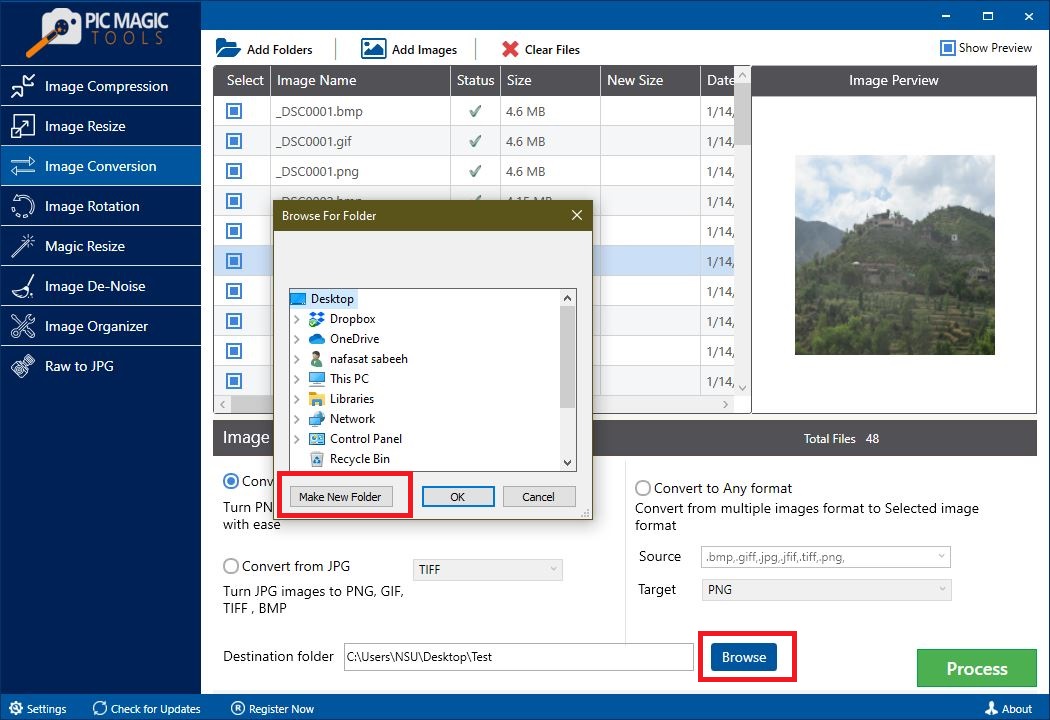
Step 5. Add the destination path by clicking the Browse button.

PicMagic Tools: Choose Destination Folder

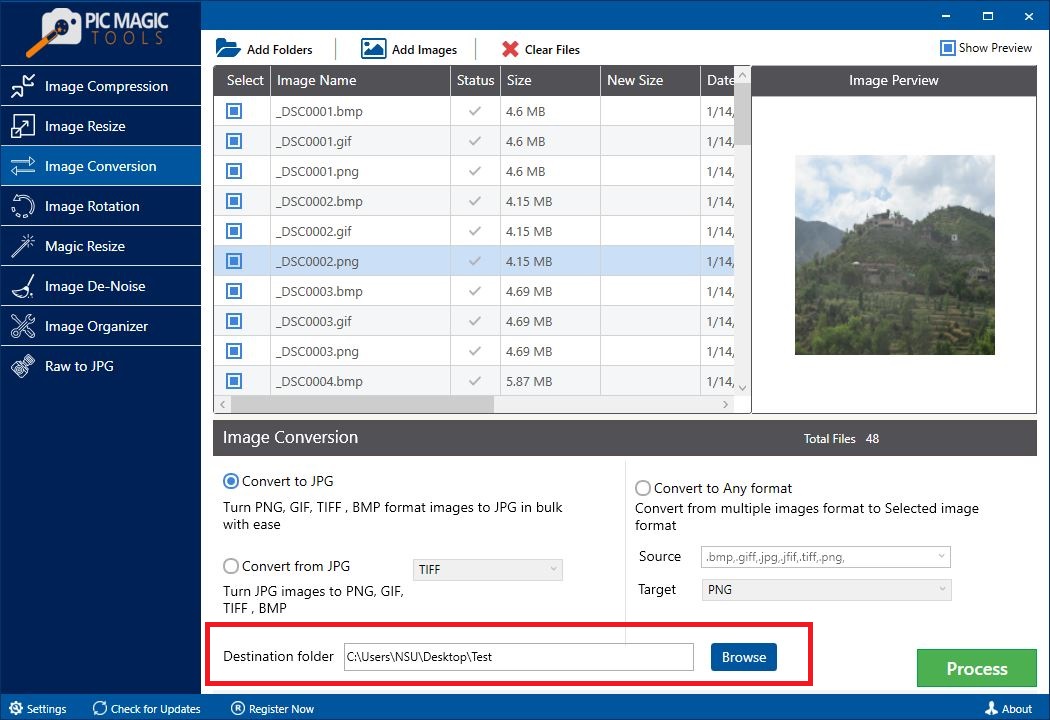
Even, you can create a new separate folder by clicking the Browse button.

PicMagic Tools: Create New Destination Folder

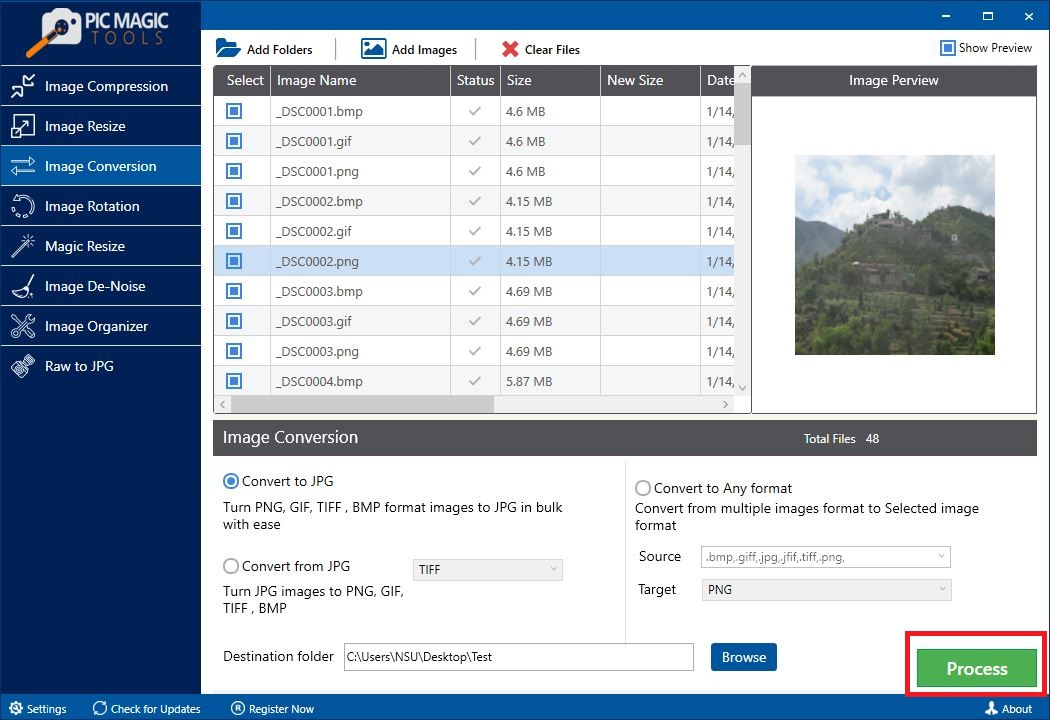
Step 6. Click the Process button located at the bottom right corner to start the proceedings.

PicMagic Tools: Start Conversion Process

Wait for the completion of the process. It will take less time.

PicMagic Tools: Processing

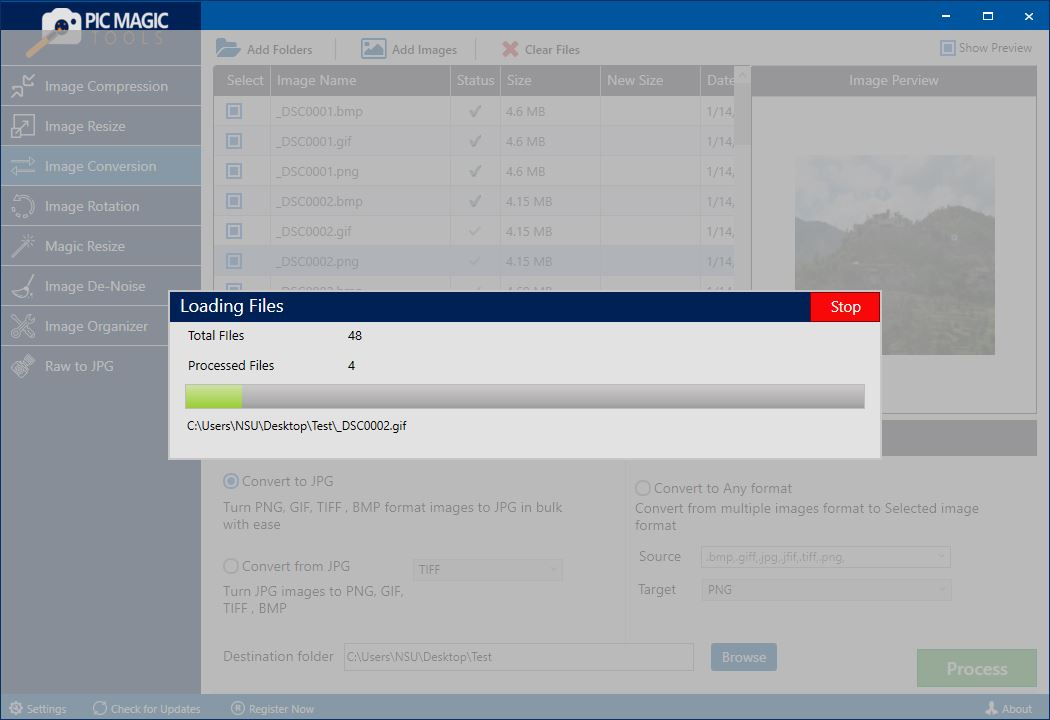
When the action is completed, you will be able to access the converted images from the destination folder that you selected before.

Conclusion

In this article, you have read two methods to convert JPG to PNG. You can use the first method or the second method to convert images in a different format. But it is best to use PicMagic Tools, the bulk image converter to change the format of the image at once.  Also, it’s easy to use for all users. You will definitely enjoy using this awesome image conversion tool.