JPEG and PNG are world-famous image formats ghostwriting bachelorarbeit. JPEG supports only four colours and therefore has a smaller file size. PNG has a larger file size than JPEG and also supports unlimited colours.
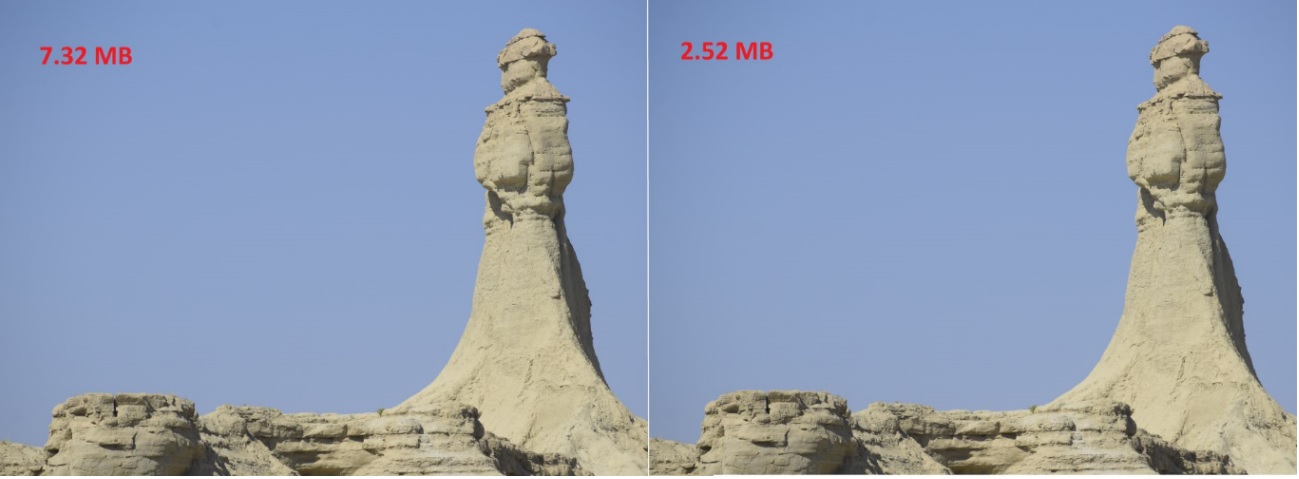
Now, the whole thing is that you can reduce the image size by changing the image format to JPEG or PNG. If the PNG image contains fewer colours, then you can change the format to JPEG to reduce the file size ghostwriter agentur. Always keep in mind that you can lose the quality of the image by using a JPEG optimizer.
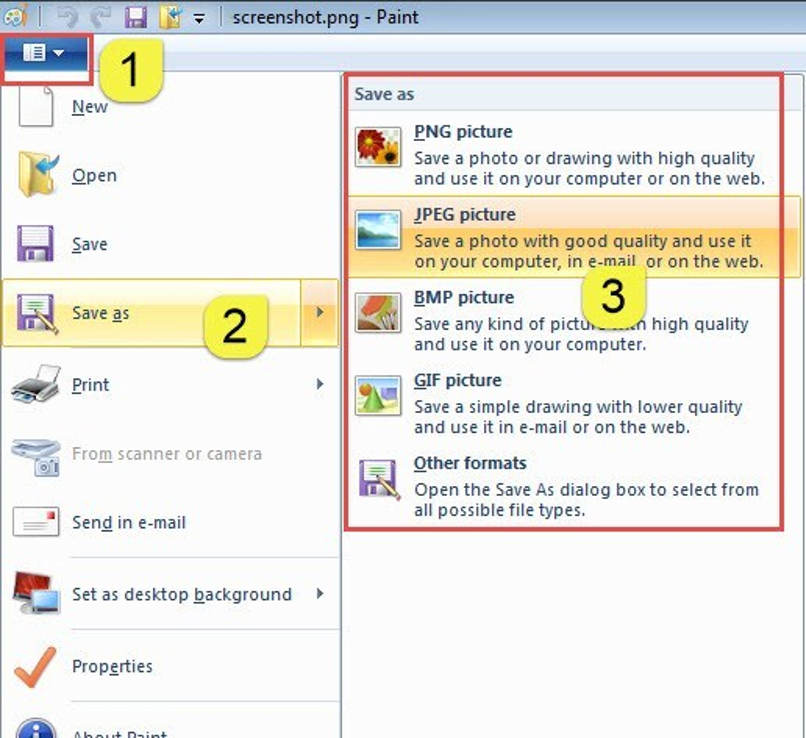
- Open the image with Paint.
- Now, click the File menu. After that click Save as and then select the desired format.
Every image contains different colour compatibility, and different image format and therefore has different file sizes ghostwriter deutschland. For example, GIF is an image format that supports several colours and thus has a smaller file size. The point is you can decrease the file size by reducing the colour depth. You can do this with the help of the image optimizer Photoshop.
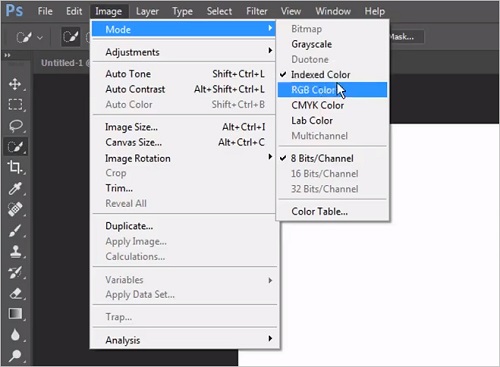
- Open the image in Photoshop. Now, click on the image and then in the drop-down menu select Mode.
- Select the desired mode. 8 Bits/Channels has the nominal file size, while the Indexed Color has a smaller file size as compared to the RGB Color.
By changing colour depth, you may lose the quality of the original image. That’s the only negative aspect of this method. Even you cannot compress the images in bulk by this method.
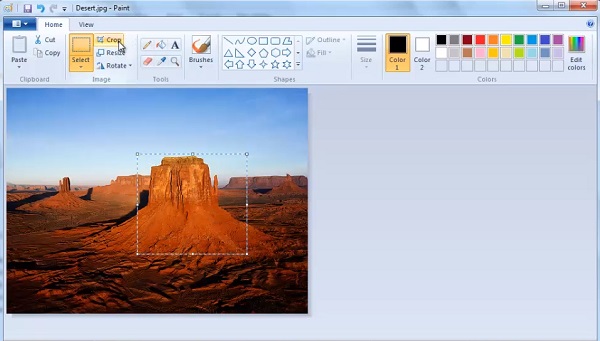
You can reduce the size of an image by cropping the image using Paint, which works as an Image Compressor. If the image contains some irrelevant stuff that you do not want to keep, then you have to crop the image to focus on the most important area ghostwriting. At the same time, the size of the image will also reduce. It is quite easy to crop the image using the image compression tool on Windows- Paint:
- Open the Image with Paint.
- Now click the Home tab > Image > Select.
- Drag the frame of the dotted line to the area that you want to crop to reduce the image size.
- Then, right-click the chosen area and select the Crop option.
- Save the image to see it in compressed form.
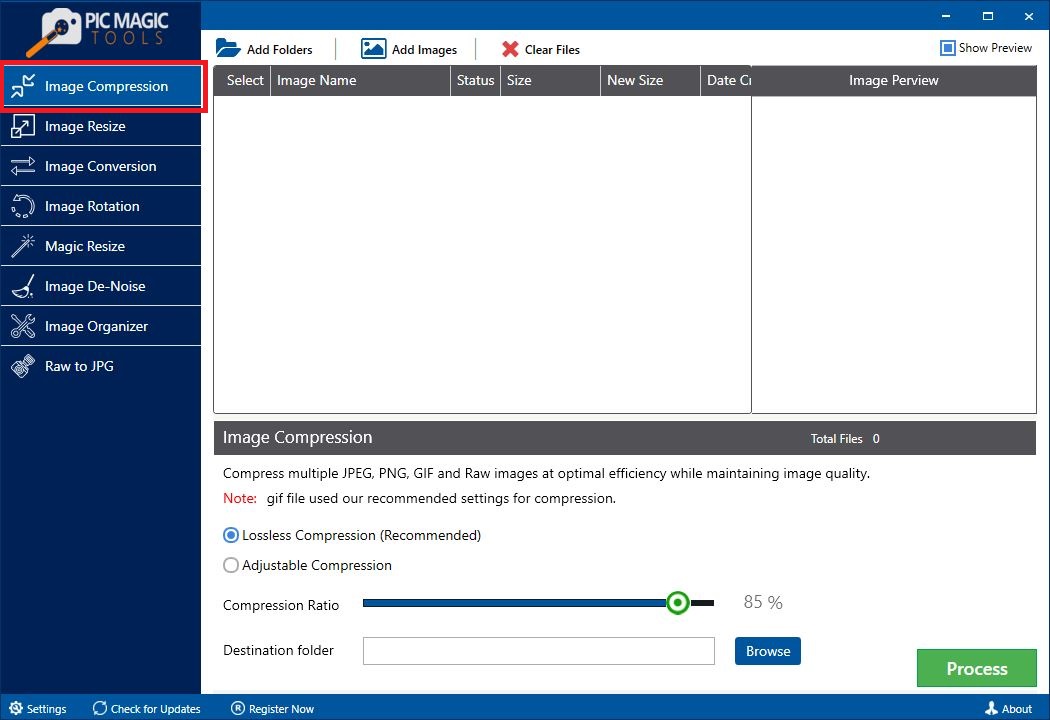
PicMagic Tools is a desktop image compressor tool through which you can compress the bulk of images at once. PicMagic Tools compresses Raw images, PNG, GIF, and JPEG in the best possible way without altering the original quality of the image. This image compression tool can compress a plethora of images by manually adjusting the compression ratio ghostwriter. Let’s follow the smart steps to decrease the Image size.
Step 1. Download the PicMagic Tools image optimizer and launch it.
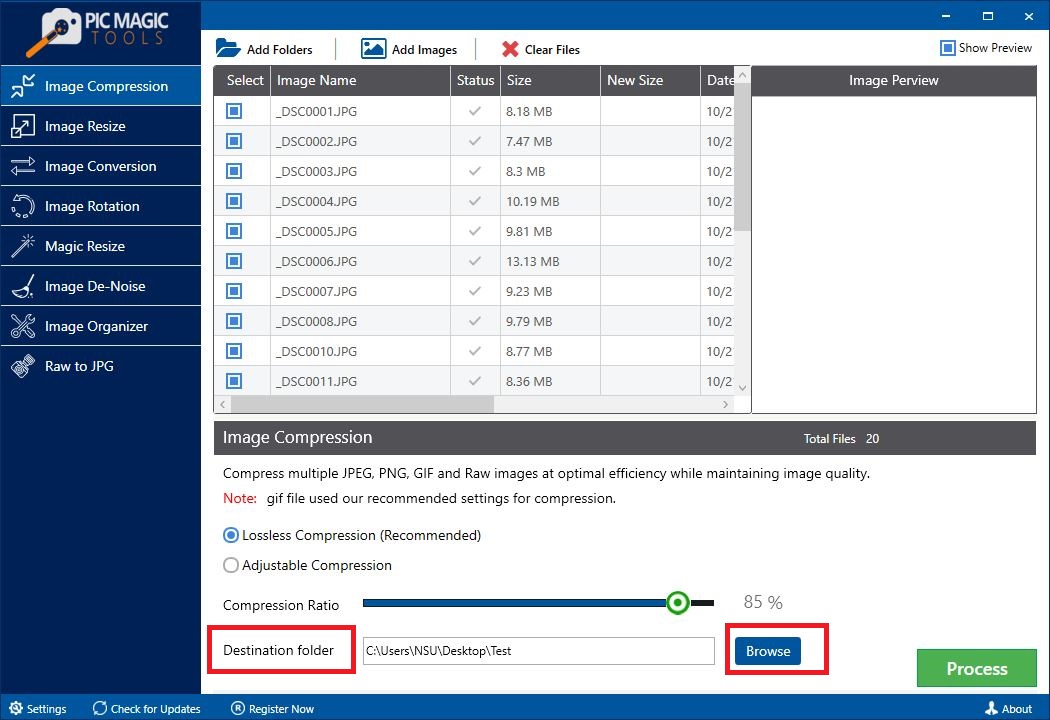
Step 2. Now click the Image Compression button located at the top left corner of the tool.
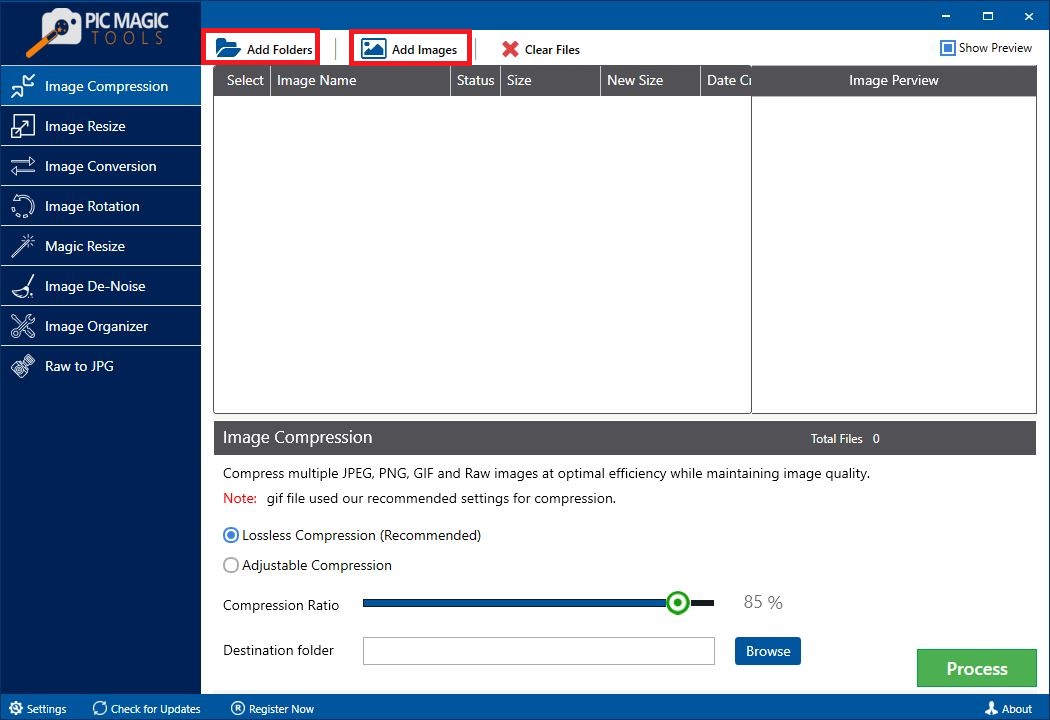
Step 3. Add Folders or Add Images, select the respective option to add the images.
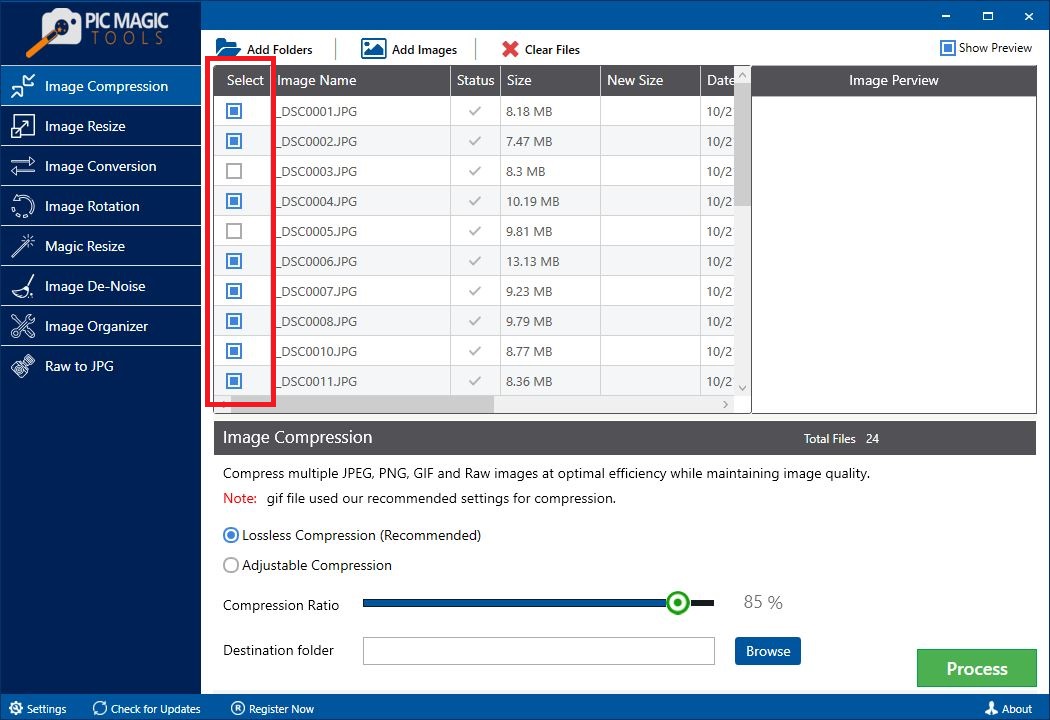
Skip the images which you do not consider relevant by simply unchecked it from the list.
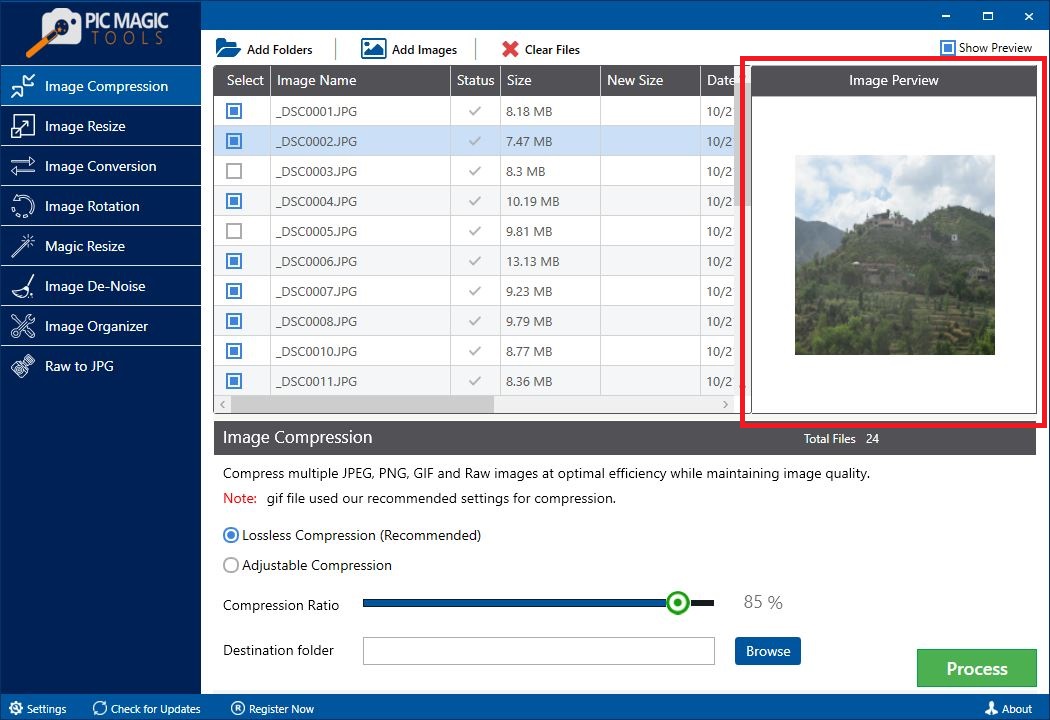
PicMagic Tools also provides the services of Image Preview to see the image before compression.
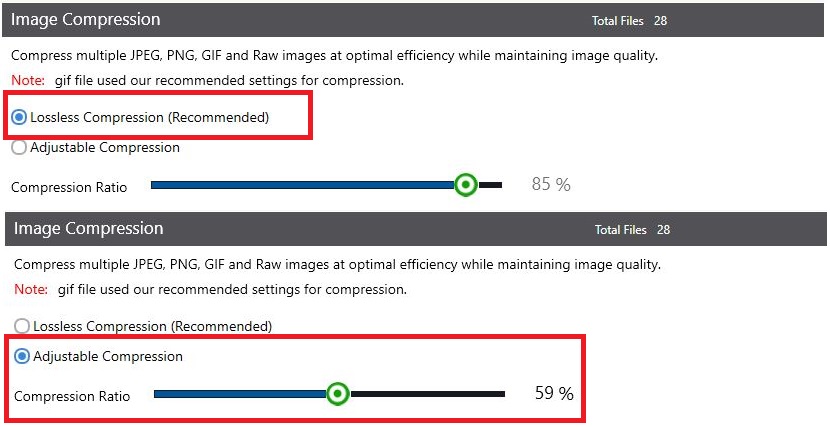
Step 4. Now, select the following particular option for compression.
- Lossless Compression. It is a recommended compression.
- Adjustable Compression. You can give the desired compression ratio to change the size of the image.
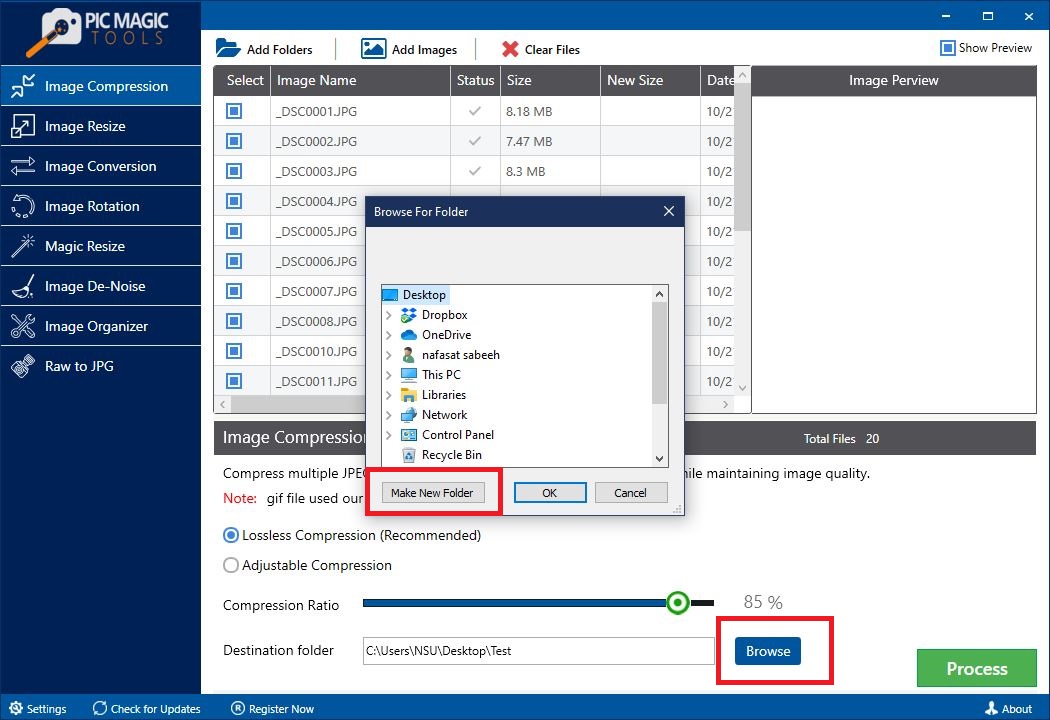
Step 5. After that, click the Browse button to add the destination folder.
You can also create a new folder to add the destination folder.
Step 6. After clicking the Process button, the operation will begin.
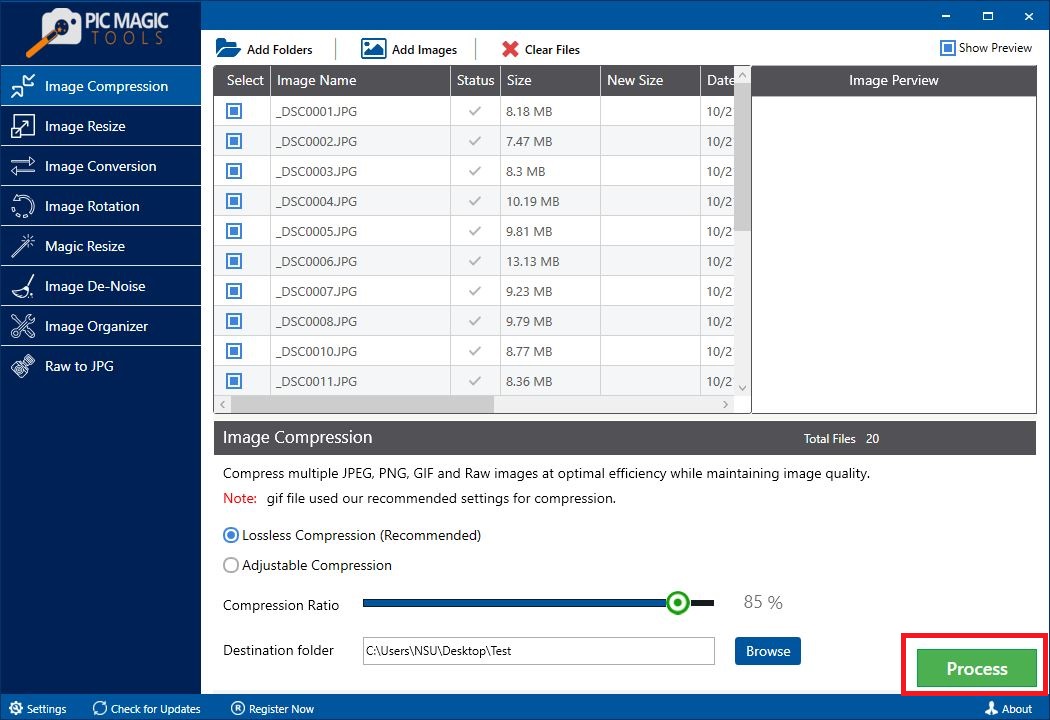
This procedure will not take any time to complete.

After the completion, you will see no noteworthy distinction between the compressed and original images. You can also check the New Size column from the image compression tool.
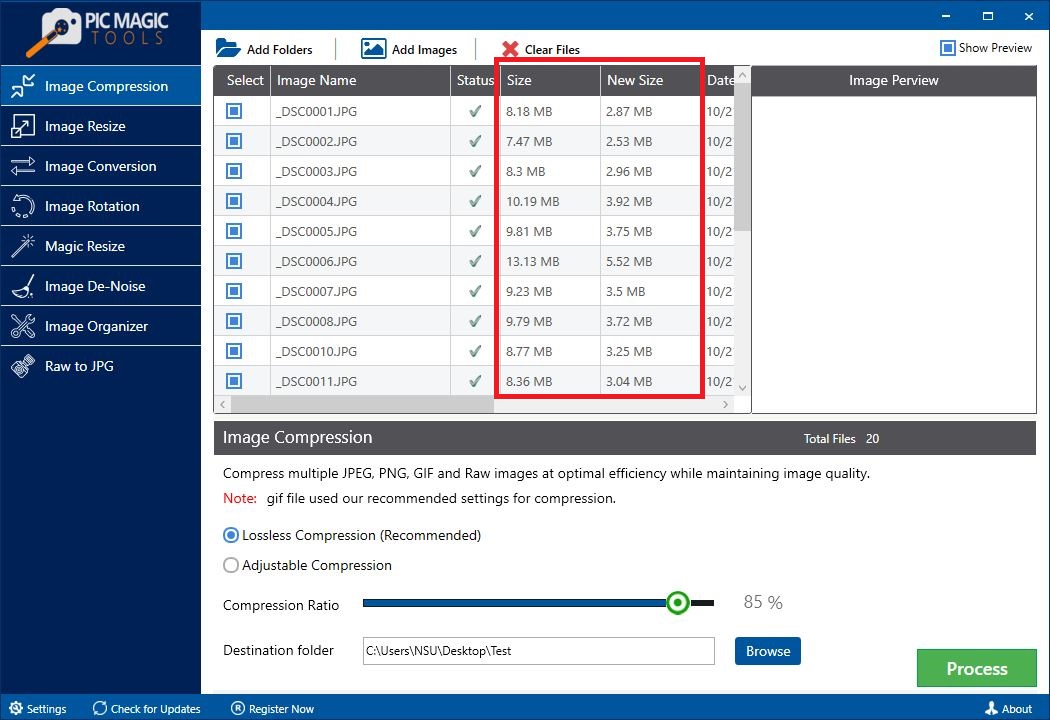
Sample Result